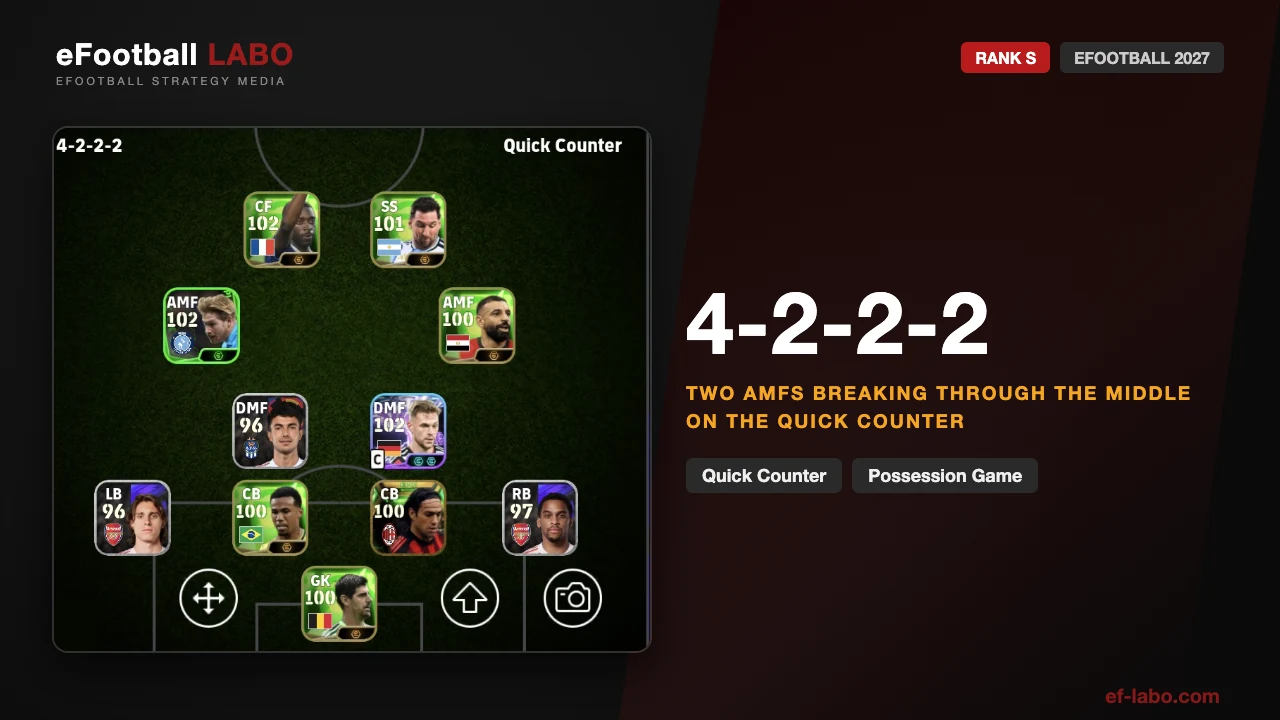
- Rank S. Tested so far in Division 2.
- Four attackers close together, cutting through the middle. It counters and it keeps the ball.
- The weakness is beside the double pivot; one anchor and quick CBs cover it.
The 4-2-2-2 puts two AMFs in front of a double pivot and two forwards above them. Four attackers, close together, cutting through the middle. Win the ball and you counter in a handful of touches; face a low block and you can still pass your way through. That double life is what makes it strong.
4-2-2-2: overview
| Rank | STested in Division 2 |
|---|---|
| In one line | Four attackers close together, cutting through the middle |
| Biggest weapon | Four bodies driving vertically on the counter |
| Biggest weakness | The space the double pivot leaves in the middle |
| Suits you if | You like breaking through the centre and playing on the counter |
| Not for you if | You want to attack out wide with strong wingers |
| Team Playstyle | Quick Counter / Possession Game |
Rank S. Ranks come from how a formation holds up as we take it up the divisions — this one is on a run of seven wins in eight in Divisions 2 and 3.
What it does well, and where it hurts
- You can send four attackers forward on the counter and combine at close range to go straight through.
- A back four plus four midfielders means plenty of passing options — building up is easy.
- It is not counter-only. You can also break a low block down with possession.
- It is attack-heavy. If one of the two DMFs pushes on, the centre opens up.
- Against three central forwards or a mirror 4-2-2-2, it turns into a shootout.
- The space beside the pivot and behind the CBs is what good opponents aim at.
The shape
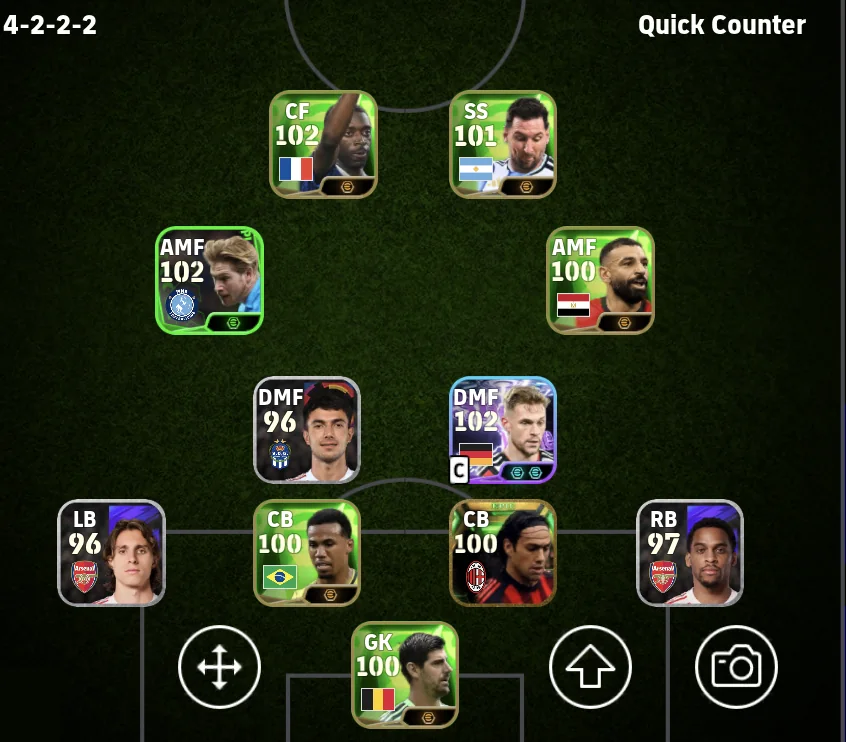
4-2-2-2: a back four, a double pivot, two AMFs and two forwards.
A back four, two DMFs at the base, two AMFs ahead of them, and two forwards (CF and SS). Having four attackers sitting close together is the whole idea.
How to attack
The main pattern is: win it, find an AMF, go. Four attackers combine and finish it quickly. Against a low block you switch to passing through the middle instead.
Long Ball Counter: the SS in behind
Win it in your own half and go forward through the nearest AMF. This is exactly what four attackers sitting close together are for.
- Win it deep and go forward quickly through the nearest AMF
- The SS runs off the last line and is through on the keeper
- The SS squares it to the CF arriving alongside
- The CF finishes
Long Ball Counter: the AMF breaking the line
The forwards drag their defence in, and the run comes from deeper instead.
- A vertical pass into the CF
- The CF lays it off to the SS
- The far-side AMF times a run from the right and breaks the line
- A through ball puts that AMF away to finish
Possession Game: through the middle
Against a low block, work it round the outside first, then go through the middle with a one-two between the two forwards.
- Work it round the outside, then a vertical pass into the CF
- The CF lays it off first-time to the SS
- Having passed it, the CF immediately breaks the line
- The SS slides the through ball in and the CF finishes
A one-two down the side (CB to full-back to SS and in behind) works too. Show them the middle then go outside, show them outside then go middle.
Building up
With this many receivers, building up is easy. There is a route straight up the middle, and one that goes round the outside to empty the middle first.
Through the middle: CB to DMF to AMF to CF
The straight route. The AMF can also simply carry it forward instead of playing the pass.
- A vertical pass from the CB into a DMF
- Out to the AMF in the wider position
- A diagonal pass into the CF
Round the side: GK to LB to AMF to DMF to CF
Going out wide first empties the middle, which is what makes the vertical pass into the CF land.
- GK out to the LB
- Up the line to the AMF
- Back inside to the DMF in the middle
- A vertical pass into the CF
Mistakes people make, and the fix
Through balls in behind, from beside the pivot
| Why it happens | What to do |
|---|---|
| When they get on the ball beside your double pivot, you cannot press them, and the through ball goes in behind your defence. | Watch the space beside the pivot constantly. Do not push your full-backs too high, and use quick CBs so you get to the space first. |
Countered after your pivot joins the attack
| Why it happens | What to do |
|---|---|
| If a pivot goes forward and you lose it, the middle is empty and the counter comes straight back at you. | Keep one of them as an anchor who does not go forward. If you play a playmaker there, concentrate on not losing it and finish the move with a shot so there is nothing to counter. |
How to defend with it
This formation assumes you finish your attacks. Beyond that, covering beside the pivot and behind the CBs is what keeps it stable.
| Area | What to do |
|---|---|
| Midfield | Take control of a pivot player and cut the passing lane rather than diving in. Do not let the space beside them open up. |
| Wide | The space behind a pushed-up full-back is where you get hurt. You have enough attackers already, so leaving the full-backs back is the stable choice — a solid defensive full-back set to Defensive in Individual Instructions. |
| Back line | Most goals you concede come in behind the CBs. Use quick CBs so you reach the through ball first. |
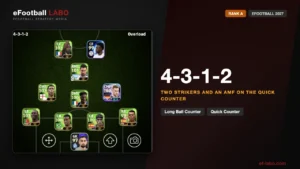
| When ahead | Set the DMFs to Defensive. Better still, switch to 4-3-1-2 and drop one AMF back into midfield for a more defensive shape. |
Players and playing styles that fit
The playing style matters more than the overall rating here. These are the ones the shape actually asks for.
| Position | Playing Style | Why |
|---|---|---|
| CF | Goal Poacher | Running in behind is the whole point of this shape, so this is a must. |
| SS | Deep-Lying Forward | Receives between the CBs and the pivot and keeps the passing moving. A Classic No. 10 also works well. |
| AMF (both) | Creative Playmaker | Keeps possession ticking and gets forward — the most important player in this formation. |
| DMF (passer) | Orchestrator | Links the CBs and the pivot to the forwards. Passing ability over everything. |
| DMF (holder) | Anchor Man | The one who does not go forward. This is what keeps the shape from breaking. |
| Full-backs | Defensive Full-back | You already have numbers forward, so leave them at home and set them to Defensive. |
| CBs | Build Up, and quick | You need the feet for possession and the pace to cover behind the full-backs and in behind your own line. |
Best managers for this formation
4-2-2-2 runs on Quick Counter and Possession Game, so what you want is a manager with high proficiency in those. Every manager below is rank SS on eFootball LABO — high proficiency, a booster and a link-up — picked for their proficiency in these playstyles.
Best managers for Quick Counter





Best managers for Possession Game




Keep one DMF as a fixed anchor. When you are ahead, set the DMFs to Defensive and switch to 4-3-1-2.
Matchups
| Opponent | Matchup | Why, and what to do |
|---|---|---|
| Teams that load the centre (a mirror 4-2-2-2) | Poor | The space in front of your CBs is open at both ends, so it becomes a shootout. Take the initiative by scoring first. |
| Three forwards (4-3-3, 4-2-1-3) | Good | Because your full-backs are set up defensively, you match up well against teams that attack out wide. |
Matchups are provisional and come from played matches. We update them as we play more.
FAQ
Is 4-2-2-2 good in eFootball?
What Team Playstyle should I use with 4-2-2-2?
What is the weakness of 4-2-2-2?
What should I switch to when I am ahead?
Summary
- The spine of it is four attackers close together, cutting through the middle. It counters and it keeps the ball.
- Plug the weaknesses — beside the pivot and behind the CBs — with one anchor, quick CBs, and full-backs that stay back.
- Against mirror and central shapes, score first. When you are ahead, switch to 4-3-1-2 and see it out.