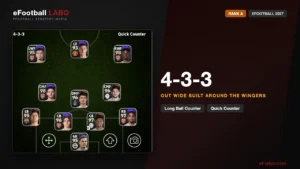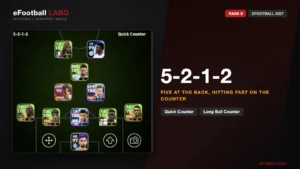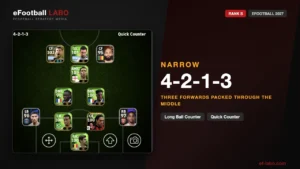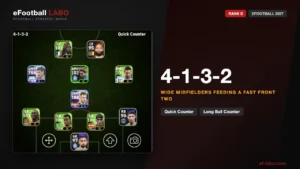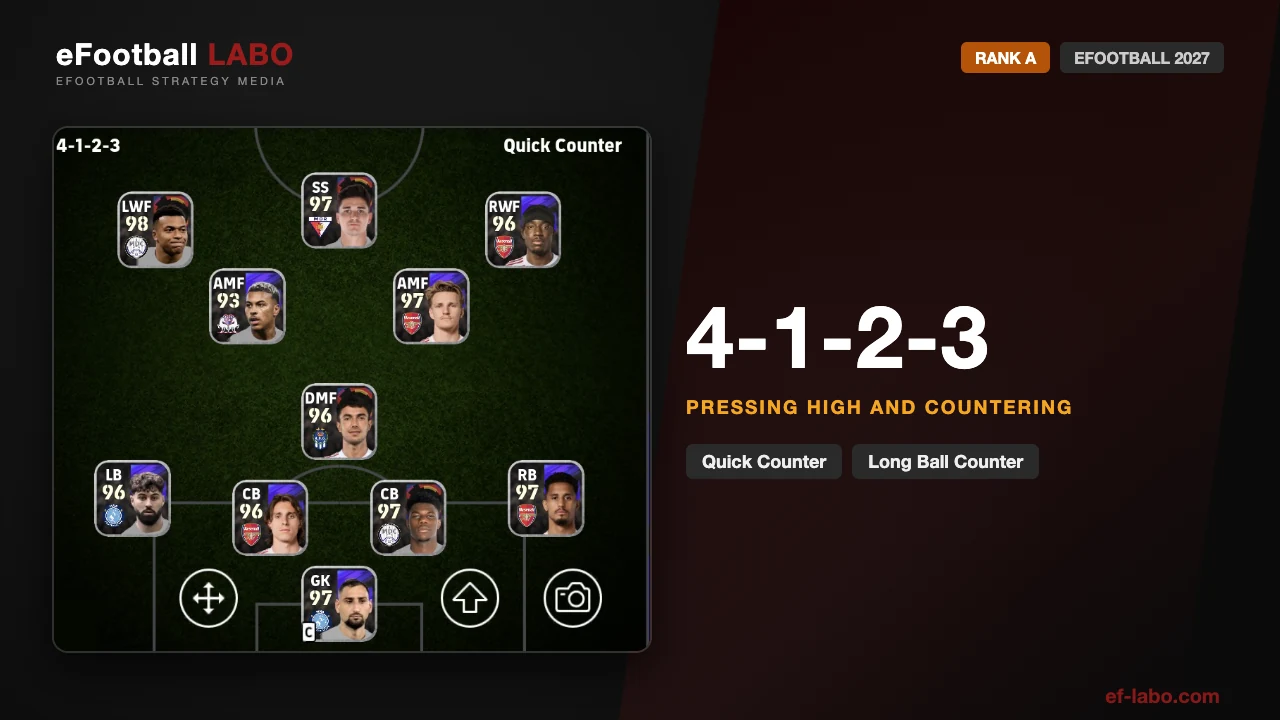
- Rank A. Tested so far in Division 2.
- Five players press and five players break. Turnovers become chances almost immediately.
- One holding midfielder sits behind them. Building up is hard, and losing it hurts.
The 4-1-2-3 goes all in on attacking. A front three and two attacking midfielders give you five players who press and five players who break, and when it works you score in seconds. You pay for it in midfield: one holding midfielder is all that sits between that attack and your back four. How you use that player is the whole shape.
4-1-2-3: overview
| Rank | ATested in Division 2 |
|---|---|
| In one line | A front three and two AMFs — everything spent on attacking |
| Biggest weapon | Five players pressing high, and five running on the break |
| Biggest weakness | One holding midfielder, so the middle is thin and build-up is hard |
| Suits you if | You want to line up good attackers and score on the counter |
| Not for you if | You want to keep the ball, or defend first |
| Team Playstyle | Quick Counter / Long Ball Counter |
Rank A. Ranks come from how a formation holds up as we take it up the divisions — this one won four and lost one of five games in Division 2 — a provisional record, and the rank will move once there is more of it.
What it does well, and where it hurts
- The front three and both AMFs press as a unit, so you win the ball high and score from it.
- The same five all run forward on the counter, which is as much as any shape puts into a break.
- The wingers hold the width, so you can attack the flanks as well as go straight through.
- One holding midfielder is the only defensive player in midfield.
- Five players are already high up, so the CBs have almost no one to pass to — building up is genuinely hard.
- Lose the ball and the middle is already empty — the counter comes back fast.
The shape
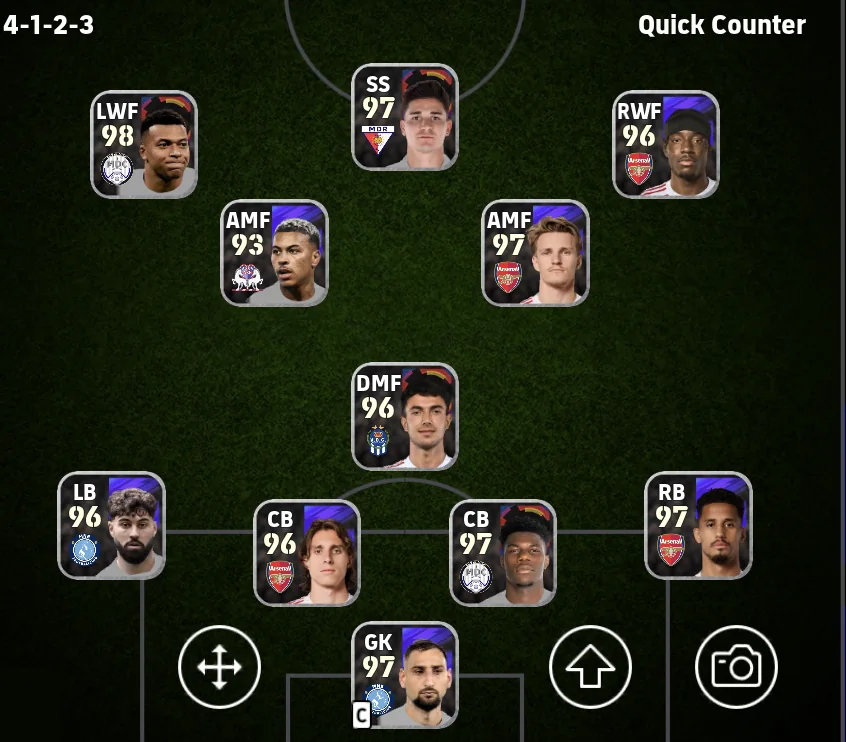
4-1-2-3: a back four, one holding midfielder, two AMFs and a front three.
A back four, a single DMF at the base, two AMFs ahead, and a front three of two wingers and a CF. Five players in the attacking half and one holding midfielder behind them — that imbalance is the shape.
How to attack
You are a counter-attacking side, and you have two kinds of counter. Press high and win it in their half, or win it deep and go long to a winger straight away. Both work because five players go forward together.
Quick Counter: press high, win it, finish
Push them back, and when you do lose it, press immediately. Winning it that high means their defence has no time to get set.
- An AMF presses and wins it high up the pitch
- The ball goes out to the RWF
- The other AMF breaks forward into the box
- That AMF finishes
Long Ball Counter: straight to a winger
Win it deep and skip midfield entirely. There is no build-up here — the ball goes long to a winger and the CF is already running.
- A CB wins it deep and goes straight to the RWF
- The CF runs in behind their back line
- The RWF slides the through ball in
- The CF finishes
The winger running inside
The answer when they crowd the middle. Drop the CF in to pull a defender out, and send a winger through the gap that opens.
- A CB wins it and works it forward through the RB
- The RB finds an AMF free in midfield
- The LWF runs inside off the last defender’s shoulder
- That AMF slides the through ball in and the LWF finishes
Building up
This is the hard part of the shape. A CB looks up and often the only team-mate available is the DMF, so a good opponent marks that one player and you are stuck. Two things get you out: drop the CF in to give yourself a second target, and be willing to go round the outside.
Through the middle, via the DMF
The short route. It works when they leave the DMF alone, and the CF dropping in gives you a second man to aim at when they do not.
- A CB starts it
- The DMF takes it and moves it on to an AMF
- That AMF plays it into the CF
Round the outside when the DMF is marked
The route you will use most, because good opponents mark the DMF. Go down the side and come back inside.
- A CB goes out to the LB
- The LB plays it straight up the line to the LWF
- The LWF gives it back inside to an AMF who has tucked in
Mistakes people make, and the fix
The DMF gives it away building up and you concede immediately
| Why it happens | What to do |
|---|---|
| There is no other defensive midfielder. When the DMF loses it, the ball is already past your midfield and running at your back four. | Take care with every pass that player makes. Give yourself another option by dropping the CF in rather than only looking for the AMFs. |
A CB’s pass to an AMF gets intercepted
| Why it happens | What to do |
|---|---|
| It is a long pass with their defenders close to the receiver, so it gets read. | Only play it when an AMF is genuinely free. If not, do not force it — go out to a winger or a full-back instead. |
You cannot get pressure on in midfield and concede from distance
| Why it happens | What to do |
|---|---|
| If the DMF gets drawn out of position, the space between your back four and your AMFs opens up, and that is where shots come from. | The DMF holds position in midfield and does not chase. Keeping that player in the gap is worth more than any tackle they might win by leaving it. |
How to defend with it
With one holding midfielder you cannot defend by covering ground. You defend by pressing high with the five in front, and keeping the DMF exactly where it belongs.
| Area | What to do |
|---|---|
| The AMFs | Press the moment you lose it, and keep pressing when they have it. The Two AMFs pressing is what makes up for how few midfielders you have. |
| The DMF | The key player. Hold position and do not chase the ball — the job is to deny the space in front of your back four, not to win it back. |
| Wide | You already have five forward, so full-backs defend. Use defensive full-backs and set them to Defensive in Individual Instructions. |
| Back line | The back four plus the DMF is five players against the counter. That only works if the DMF is still in position when it arrives. |
| When ahead | Go to 4-2-1-3. One AMF drops to the base of midfield, which gives you a second holding midfielder without touching the back four or the front three. |
Players and playing styles that fit
The playing style matters more than the overall rating here. These are the ones the shape actually asks for.
| Position | Playing Style | Why |
|---|---|---|
| CF | Deep-Lying Forward | Drops in to give the CBs someone to pass to, which is what makes the build-up work. Keep a Goal Poacher on the bench for when you are chasing. |
| Wingers (both) | Prolific Winger | Hold the width and start the counter — without them you only have the middle. |
| AMFs (both) | Hole Player | Lay it into the CF and run past. They also lead the press, so they need the legs for both. |
| DMF | Anchor Man | Holds position and fills the middle. Defending comes first here — everything else is a bonus. |
| Full-backs | Defensive Full-back | You have numbers forward already, so the full-backs stay and cover the counter. |
| CBs | Build Up, and quick | They start the long counter, so passing range matters. Pace to cover the space behind the full-backs. |
Best managers for this formation
4-1-2-3 runs on Quick Counter and Long Ball Counter, so what you want is a manager with high proficiency in those. Every manager below is rank SS on eFootball LABO — high proficiency, a booster and a link-up — picked for their proficiency in these playstyles.
Best managers for Quick Counter





Best managers for Long Ball Counter





Press with the five in front, and never let the DMF get dragged out of the middle. Full-backs on Defensive, and drop one AMF to make it 4-2-1-3 when you are ahead.
Matchups
| Opponent | Matchup | Why, and what to do |
|---|---|---|
| Sides that try to play out from the back | Good | Five players pressing high is exactly what punishes that. Win it in their half and you score before they are set. |
| Sides that keep the ball through midfield | Poor | One holding midfielder against two or three of theirs leaves you outnumbered. Press higher so the ball never gets there. |
| Sides that sit deep and counter | Even | A side that sits deep never gives you anything to counter, and building up patiently is not what this shape does. Be careful about committing all five. |
Matchups are provisional and come from played matches. We update them as we play more.
FAQ
Is 4-1-2-3 good in eFootball?
What Team Playstyle should I use with 4-1-2-3?
What is the weakness of 4-1-2-3?
Why is build-up so hard with 4-1-2-3?
What should I do when I am ahead?
Summary
- The spine of it is five who press and five who break. Turnovers become chances faster than in almost any other shape.
- The price is one holding midfielder. Build-up is hard — drop the CF in, and go round the outside when the middle is marked.
- Keep the DMF in position and the shape holds together. The record so far is from Division 2, so treat the rank as provisional.