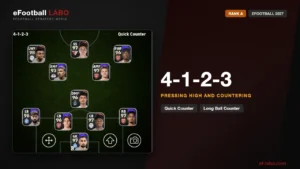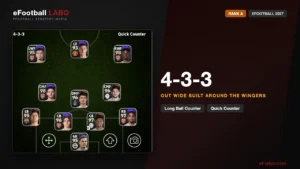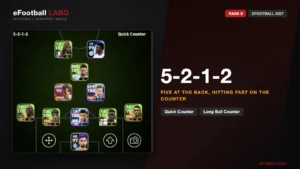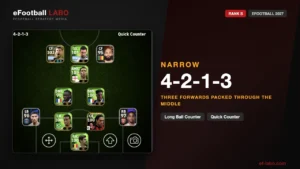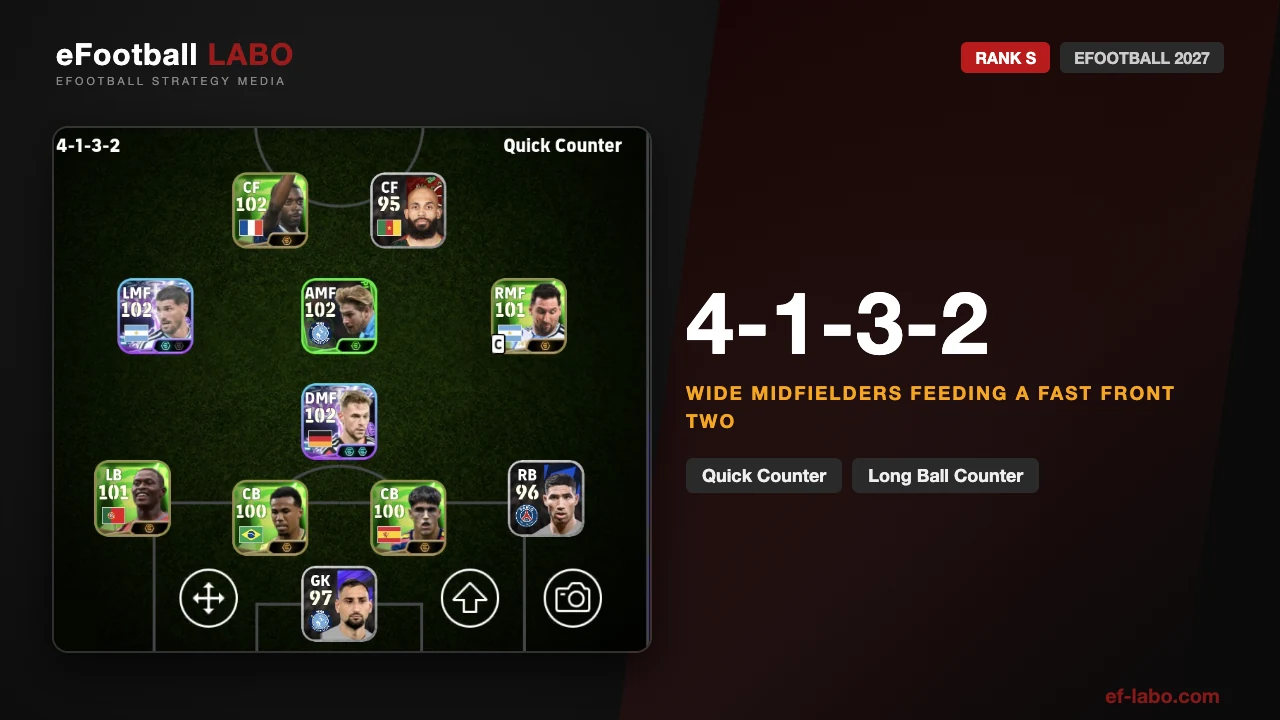
- Rank S — it holds up in Division 1.
- The wide midfielders start it; a CF breaks the line and the through ball follows.
- One holding midfielder means the space beside the DMF is the hole. Build round the side, not through it.
The 4-1-3-2 is a fast, vertical two-striker shape started by the wide midfielders. A single holding midfielder sits behind a line of three — LMF, AMF and RMF — and with the two CFs that puts five players forward. The moment a wide midfielder gets on the ball, a CF drifts wide and breaks the line, and the through ball follows. That one movement is where every attack comes from.
4-1-3-2: overview
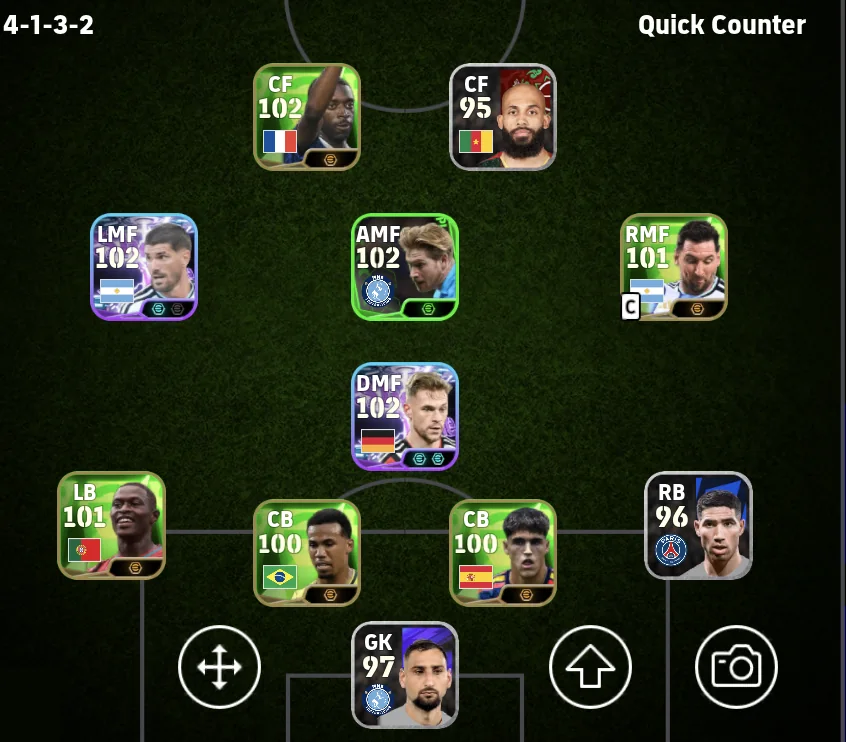
| Rank | SWorks in Division 1 |
|---|---|
| In one line | A fast, vertical two-striker shape started by the wide midfielders |
| Biggest weapon | Pace from wide: a CF breaks the line, the through ball follows |
| Biggest weakness | The space beside the DMF — one holding midfielder leaves midfield thin |
| Suits you if | You want to attack quickly, starting from wide areas |
| Not for you if | You want to keep the ball and work openings patiently |
| Team Playstyle | Quick Counter / Long Ball Counter |
Rank S means it works in Division 1. Our ranks come from the Division a formation actually holds up in — this one won seven and lost one of eight games in Division 1, scoring 24 and conceding six, including a run of five straight wins.
What it does well, and where it hurts
- Two CFs plus the AMF and both wide midfielders gives you five players in the attack.
- When a wide midfielder gets on the ball, a CF drifts wide and breaks the line. That is the trigger for everything.
- On the counter, the wide midfielders push on and give you numbers immediately.
- One holding midfielder means the middle gets thin.
- One holding midfielder also makes it hard to keep the ball — building up needs a plan.
- Two CBs leaves you outnumbered against three forwards on the counter.
The shape
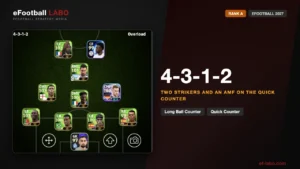
4-1-3-2: a back four, one holding midfielder, a line of three and two forwards.
A back four, a single holding midfielder at the base, then LMF, AMF and RMF in front of the DMF, and two CFs. Five players in the attack, going forward fast through the relationship between the wide midfielders and the CFs.
How to attack
Everything runs through the through ball from a wide midfielder to a CF. The moment a wide midfielder gets on it, a CF drifts wide and breaks the line. Time the pass to that run and you are in behind immediately.
Long Ball Counter: started by the RMF
Win it and go to the flank as directly as you can. The CF breaking the line the moment a wide midfielder is on the ball is what starts it.
- A CB wins it deep and finds the RMF on the right
- As the RMF takes it, a CF breaks the line out to the right and the through ball follows
- That CF squares it to the AMF arriving
- The AMF finishes
Possession Game: round the outside
The aim is the same in possession. Work it round the outside so the RMF gets on the ball, and let the CF break the line off that pass.
- The CB moves it round the outside to the RB
- The RB plays it up the line to the RMF
- The RMF carries it, a CF breaks the line out to the right, and the through ball follows
- That CF finishes it
Out Wide: the LMF crosses
A pass into feet can also start it, with the far-side runner and a cross to finish.
- The DMF plays a vertical pass into a CF
- The ball goes out to the LMF pushing on down the left
- The LMF carries it and crosses
- A CF meets it and scores
Building up
One holding midfielder is not enough to build through. A vertical ball into that area is the most common way you lose it, and that is the loss that hurts.
Round the side: CB to full-back to wide midfielder
So work it round the outside instead. The full-back and the wide midfielder on the same side give you a way up the pitch without ever passing into the crowd.
- The CB moves it round the outside to the RB
- The RB plays it up the line to the RMF
- The RMF moves it forward into the attack
Mistakes people make, and the fix
Someone carries it through the space in front of your back four and scores
| Why it happens | What to do |
|---|---|
| There is only one player in that line. Against a high-rated player who carries it at you, you cannot get enough pressure on, and they go all the way. | Use a DMF who defends well and covers ground. The space beside the DMF is covered by the wide midfielders pressing back. |
Three forwards counter you and your two CBs are outnumbered
| Why it happens | What to do |
|---|---|
| When you commit players forward and lose it, two CBs against three forwards leaves you outnumbered. | Do not lose it in midfield, and press immediately when you do, so the counter never starts. When you are ahead, move the LMF and RMF back to DMF and go 4-3-1-2. |
How to defend with it
With one holding midfielder the middle is thin, so the quality of that player and the pressing from your wide midfielders is what keeps you alive.
| Area | What to do |
|---|---|
| Midfield | Press the ball carrier with the DMF. When they get on it out wide, take control of the LMF or RMF and close them down. |
| Wide | Five players are already in the attack, so let the full-backs defend. Set them to Defensive in Individual Instructions to shut the space behind them. |
| Back line | Two CBs leaves you outnumbered against three forwards. That is structural, so the answer is upstream: do not lose it in midfield, and press the moment you do. |
| When ahead | Move the LMF and RMF back to DMF and go 4-3-1-2 to see the game out. |
Players and playing styles that fit
The playing style matters more than the overall rating here. These are the ones the shape actually asks for.
| Position | Playing Style | Why |
|---|---|---|
| CF (both) | Goal Poacher | Drifting wide and breaking the line is the whole point. This is the shape’s lifeline. |
| AMF, LMF and RMF | Creative Playmaker | Hold it up wide, find the CFs accurately, and get in behind when the space opens. |
| DMF | Anchor Man | Does not go forward and defends the base. You need someone who can cover that whole line single-handedly. |
| Full-backs | Defensive Full-back | Good enough on the ball not to give it away building up. Keep them defending. |
| CBs | Destroyer, and quick | Only two of them, so you want CBs who go and win it, with the pace to deal with three-forward counters. |
Best managers for this formation
4-1-3-2 runs on Quick Counter and Long Ball Counter, so what you want is a manager with high proficiency in those. Every manager below is rank SS on eFootball LABO — high proficiency, a booster and a link-up — picked for their proficiency in these playstyles.
Best managers for Quick Counter





Best managers for Long Ball Counter





Get the ball to a wide midfielder and let the CF break the line off that pass. Full-backs on Defensive, and go 4-3-1-2 when you are ahead.
Matchups
| Opponent | Matchup | Why, and what to do |
|---|---|---|
| Sides that sit in a block | Good | Five in the attack and the wide midfielders starting the move gives you the width to pull them apart. |
| Three forwards on the counter (4-3-3 and similar) | Poor | Two CBs and one holding midfielder leaves you outnumbered. Do not lose it in midfield, and press the instant you do. |
| Sides that play between the lines (4-2-2-2 and similar) | Poor | They will find the space beside your DMF and between your lines. Cover it with a holding midfielder who covers ground, and wide midfielders who press back. |
Matchups are provisional and come from played matches. We update them as we play more.
FAQ
Is 4-1-3-2 good in eFootball?
What Team Playstyle should I use with 4-1-3-2?
What is the weakness of 4-1-3-2?
How do I actually attack with 4-1-3-2?
What should I switch to when I am ahead?
Summary
- The spine of it is the wide midfielder starting it and the CF breaking the line. Five forward, going fast.
- Every attack begins with the through ball from a wide midfielder to a running CF. Build round the side, not through the middle.
- The weaknesses are the space beside the lone DMF, and the counter against two CBs. A holding midfielder who covers ground is a must; go 4-3-1-2 when you are ahead.