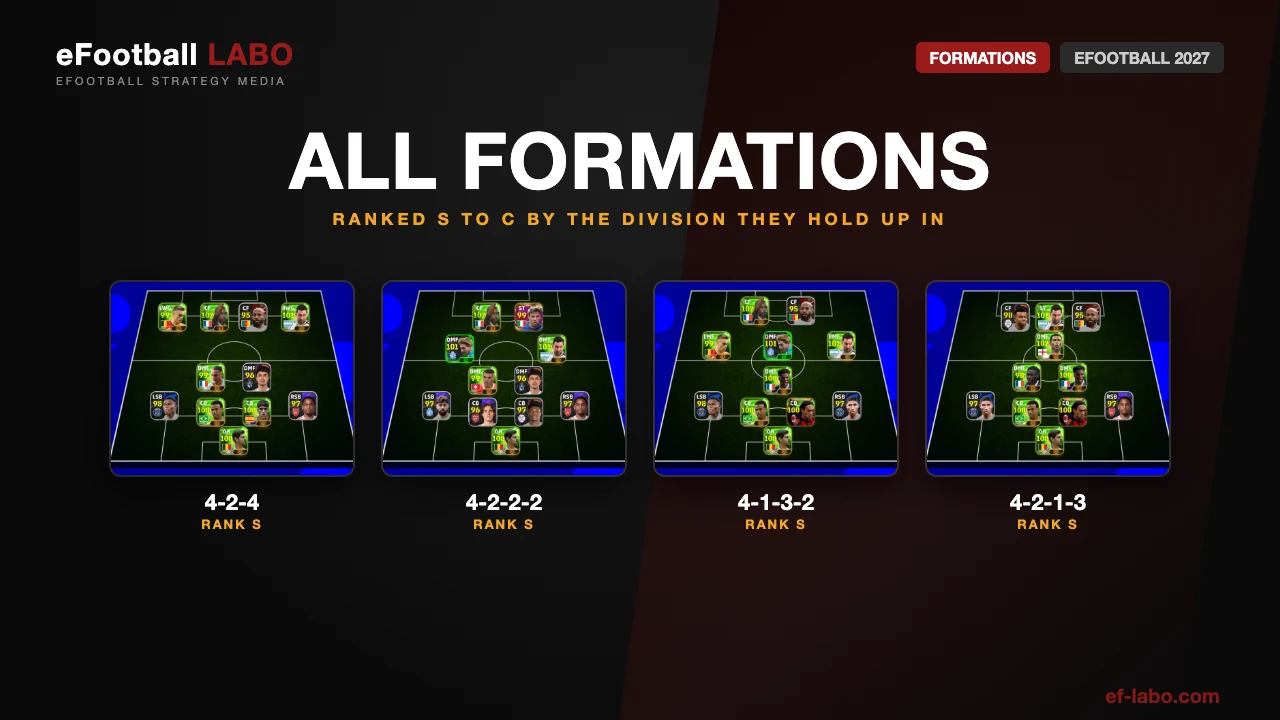
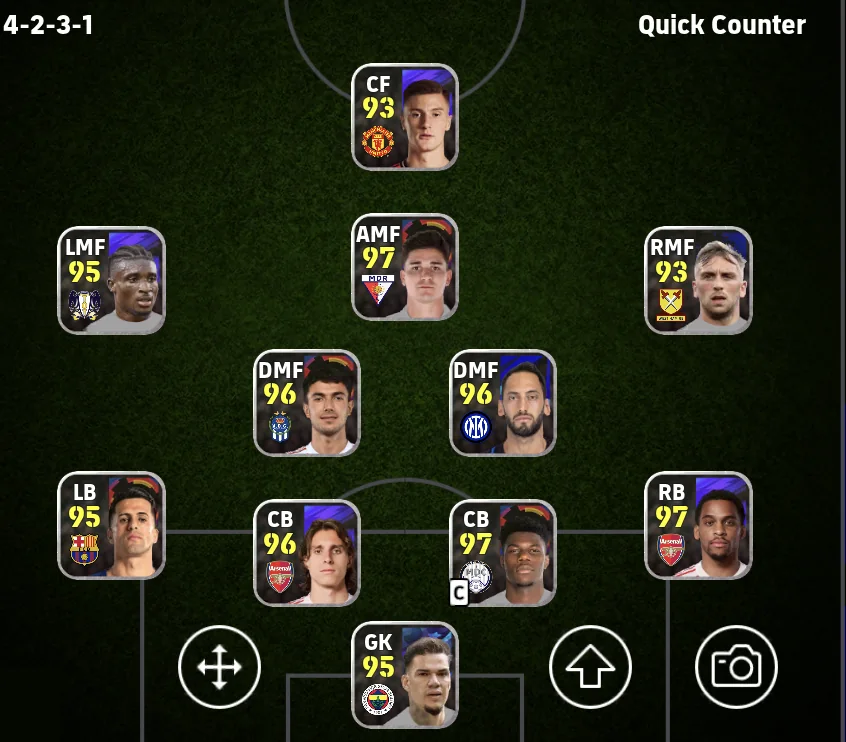
Ranked on the Division each formation actually holds up in, not on theory.
S
Works in Division 1
A
Works in Division 2, but not Division 1
B
Works in Division 3, but not Division 2
C
Will not get you out of Division 3
S rank (5)
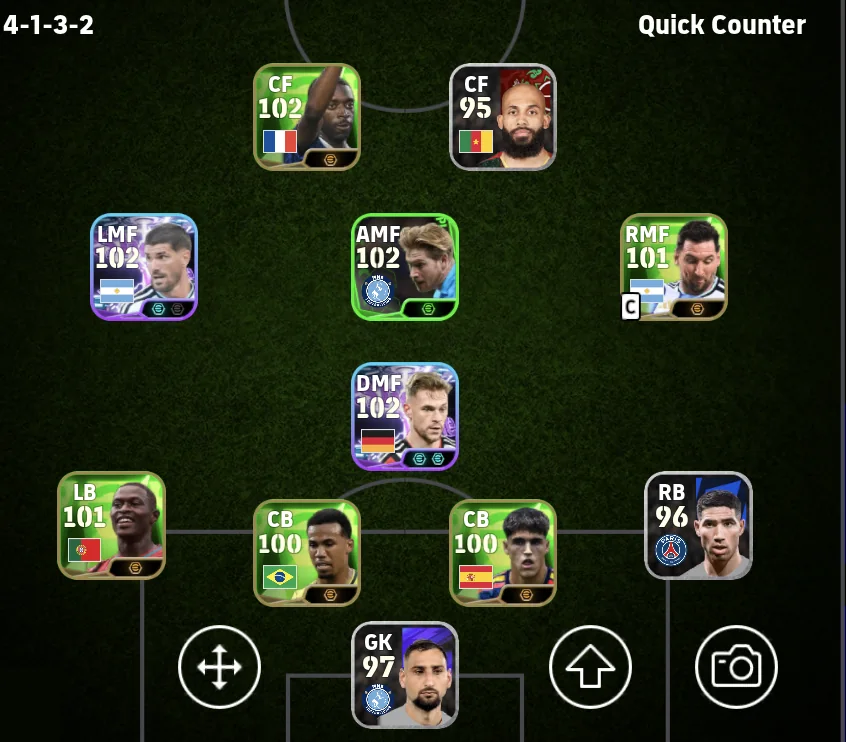
S4-1-3-2
Wide midfielders feeding a fast front two
Strength
Quick attacks started by the wide midfielders
Weakness
The space either side of the DMF
Team Playstyle
Quick Counter / Long Ball Counter
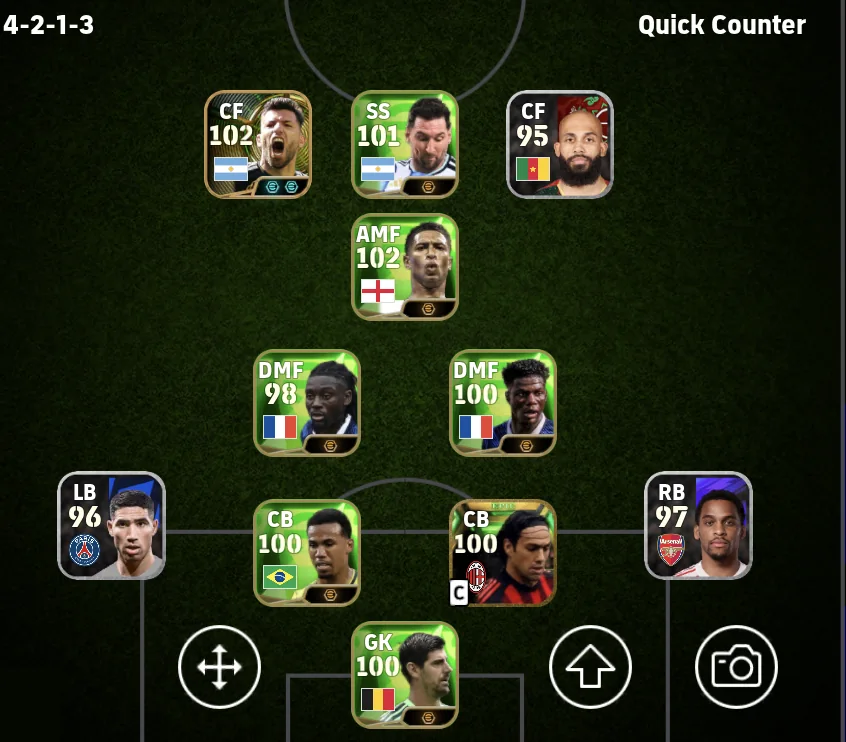
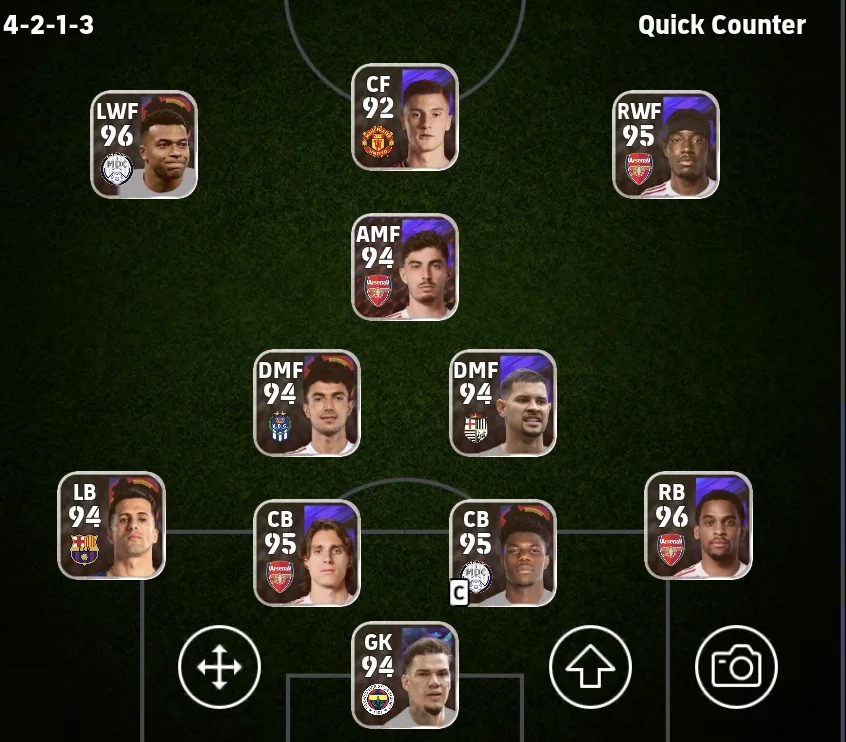
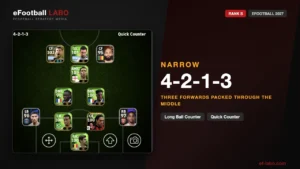
S4-2-1-3 (pseudo three-CF)
Two CFs plus a second striker through the middle
Strength
Solid defence with a three-forward and AMF counter
Weakness
Central focus means little width to break teams down
Team Playstyle
Long Ball Counter / Quick Counter
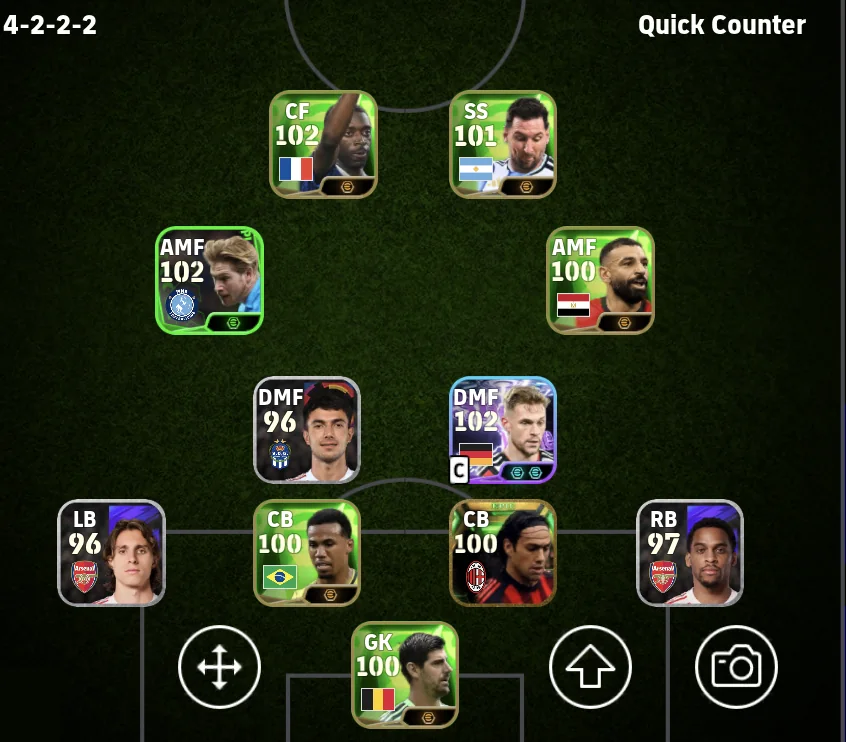
S4-2-2-2
Two AMFs breaking through the middle on the quick counter
Strength
Four attackers driving vertically to split the centre
Weakness
The space the two DMFs vacate
Team Playstyle
Quick Counter / Possession Game
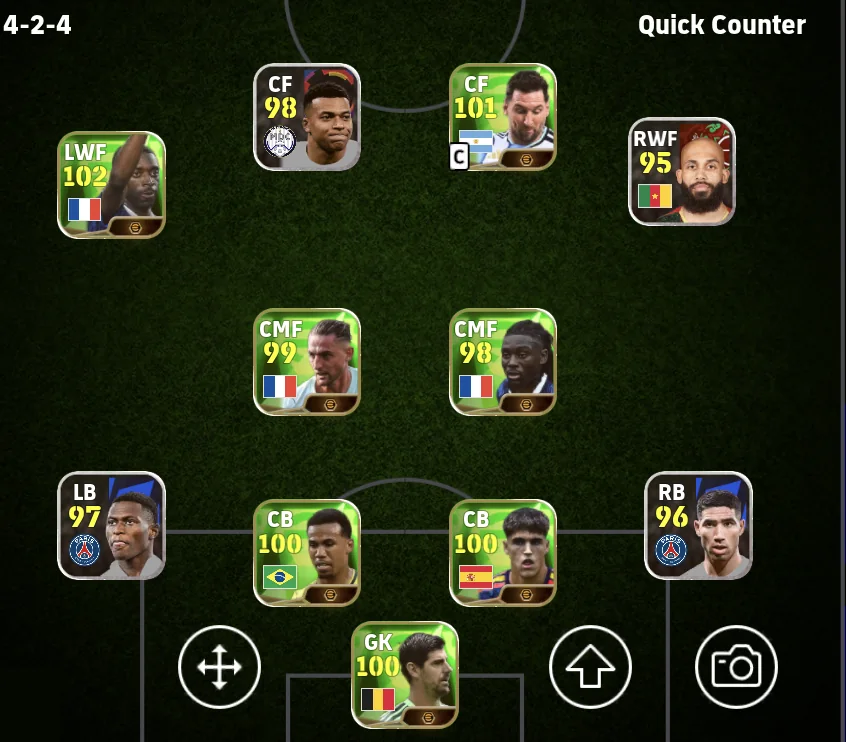
S4-2-4
Four up top for a counter that always has an outlet
Strength
Numerical advantage with four attackers — plenty of options to counter into
Weakness
Vulnerable to counters; three forwards against two CBs leaves the middle thin
Team Playstyle
Quick Counter / Long Ball Counter
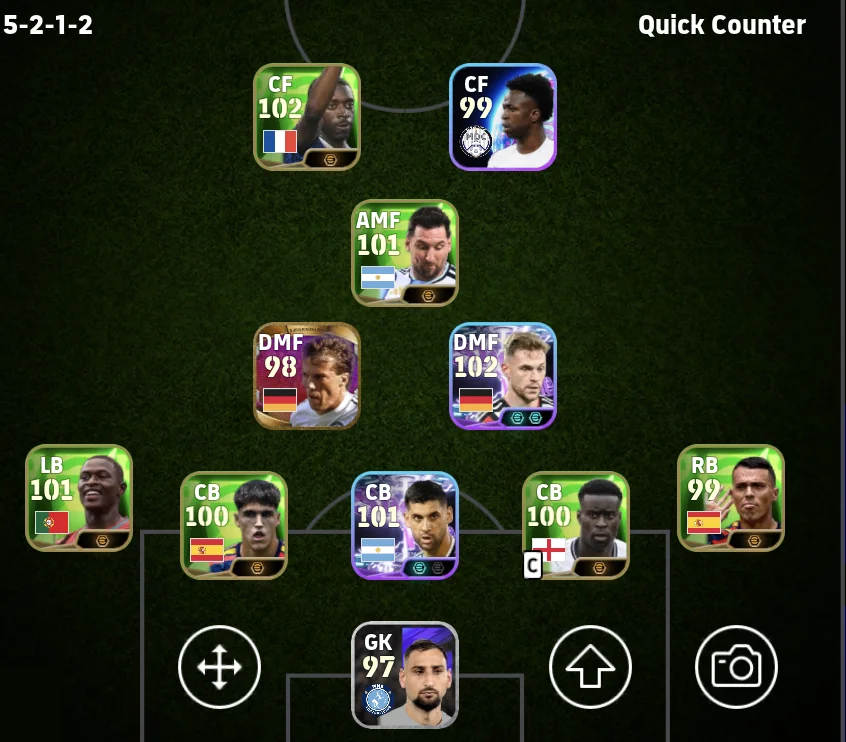
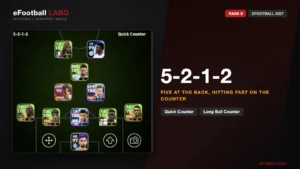
S5-2-1-2
Five at the back, hitting fast on the counter
Strength
Five defenders shut down central play — solid block, fast break
Weakness
Few bodies forward; short of goals until you get used to it
Team Playstyle
Quick Counter / Long Ball Counter
A rank (6)
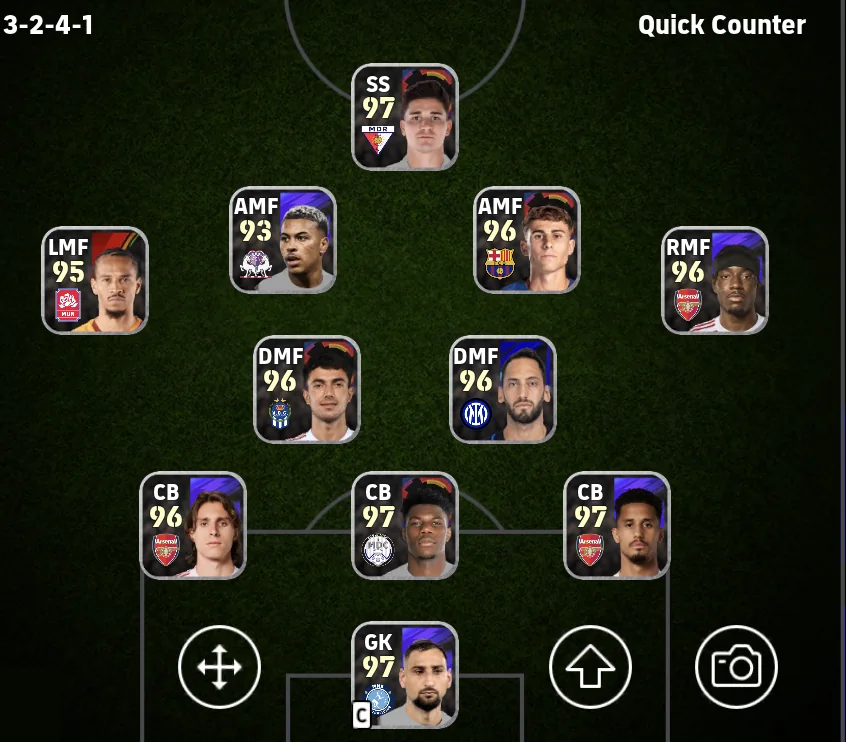
A3-2-4-1
All-out attack
Strength
Attacks through the middle and out wide in equal measure
Weakness
Thin at the back; weak against counters down the flanks
Team Playstyle
Quick Counter / Long Ball Counter
A3-4-3
Does everything — wide, central and counter
Strength
Handles wide play, central play and counters equally well
Weakness
Fragile against counters into the space beside the back three
Team Playstyle
Out Wide / Possession Game
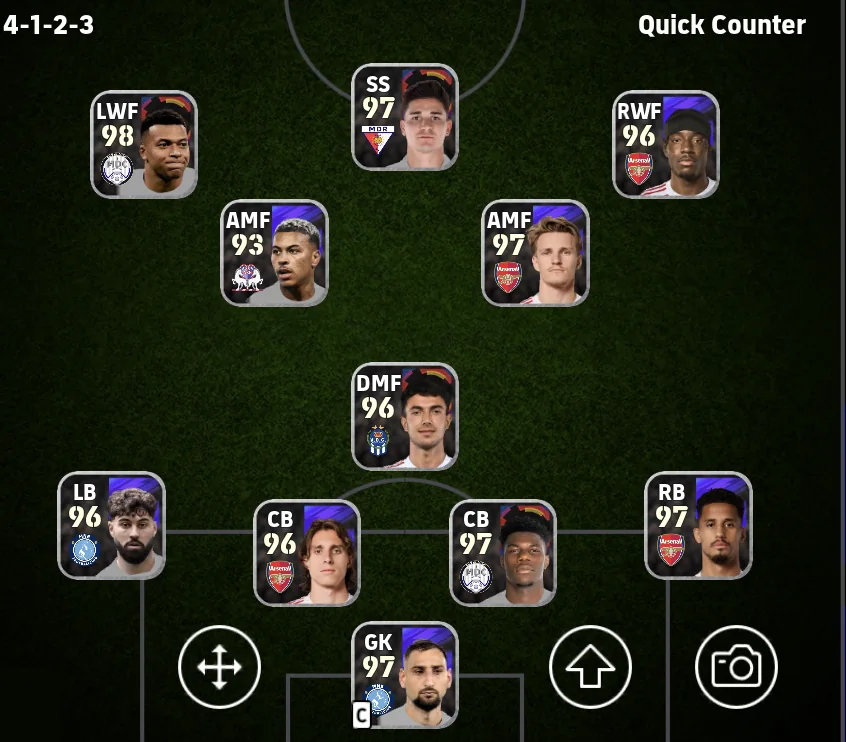
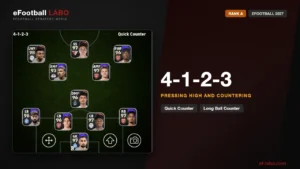
A4-1-2-3
Pressing high and countering
Strength
High press from three forwards and two AMFs
Weakness
Only one holding midfielder — the middle gets thin
Team Playstyle
Quick Counter / Long Ball Counter
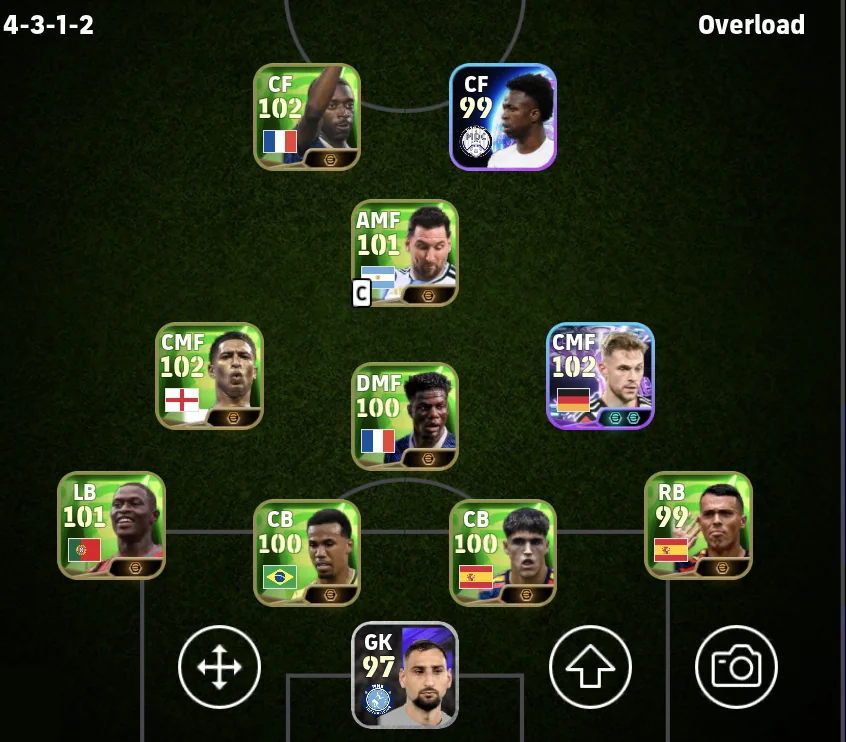
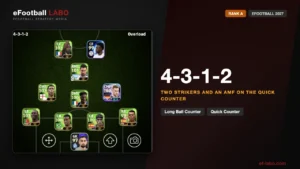
A4-3-1-2
Two strikers and an AMF on the quick counter
Strength
Sharp central breaks from two CFs plus the AMF
Weakness
Long counters against you when an attack breaks down
Team Playstyle
Long Ball Counter / Quick Counter
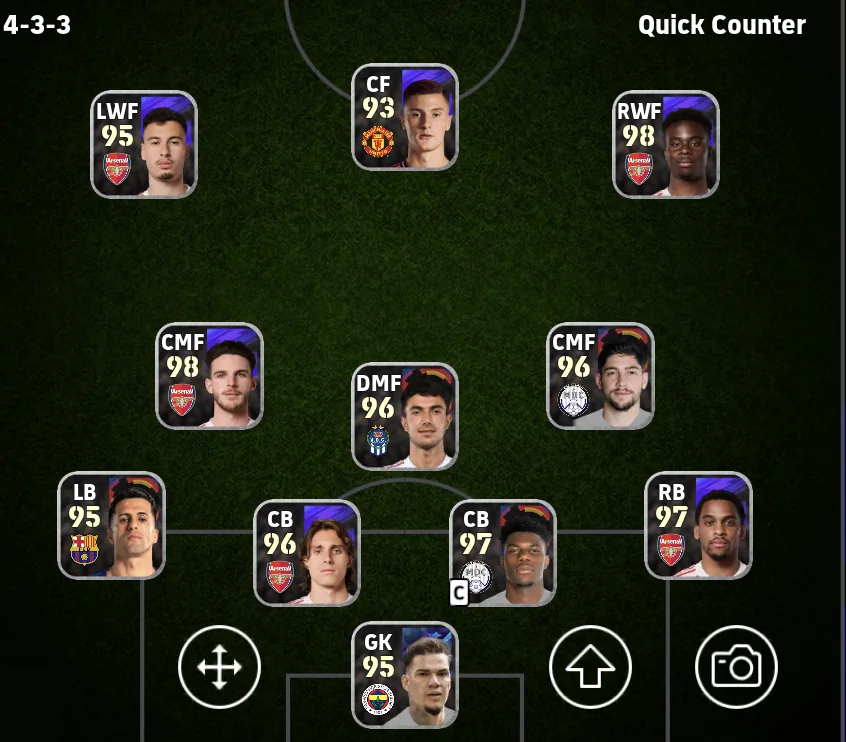
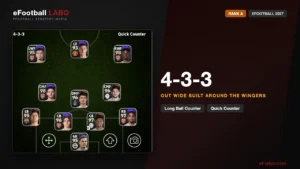
A4-3-3
Out Wide built around the wingers
Strength
High-powered wide attack from wingers, full-backs and centre midfielders
Weakness
Counters through the space behind the full-backs
Team Playstyle
Long Ball Counter / Quick Counter
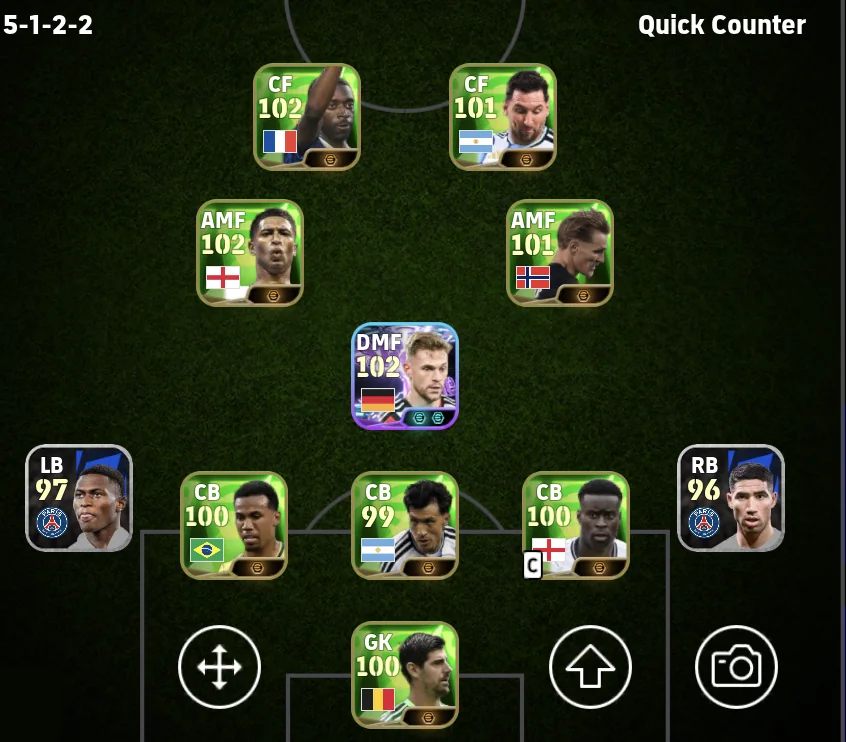
A5-1-2-2
Counter-attacking with wing-backs
Strength
Solid block, fast break, plus full-backs breaking down the wings
Weakness
One holding midfielder makes it hard to break teams down yourself
Team Playstyle
Quick Counter / Long Ball Counter
B rank (9)
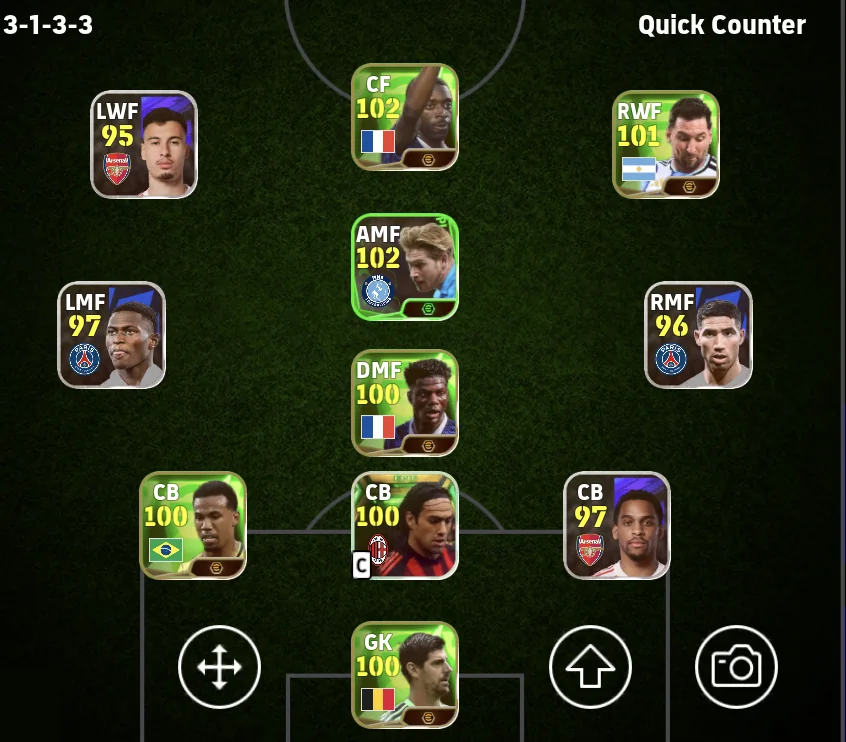
B3-1-3-3
High-press attacking
Strength
Six attackers pressing high for the quick counter
Weakness
Hard to build from the back; fragile once the press is beaten
Team Playstyle
Quick Counter / Long Ball Counter
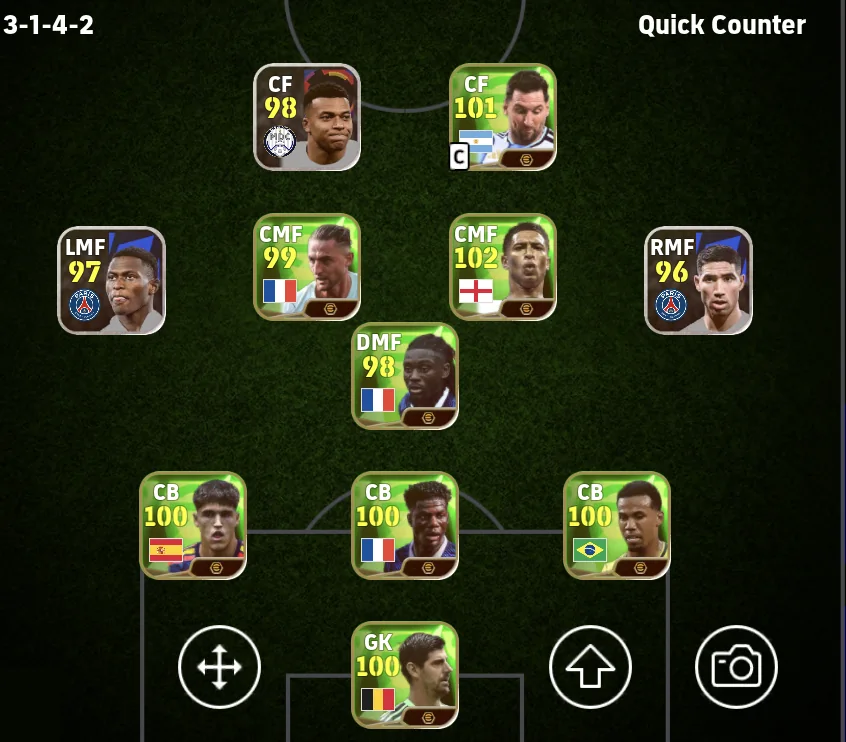
B3-1-4-2
Quick and Long Ball Counter
Strength
Six attackers combining, with devastating counters
Weakness
The space beside the DMF — too few defenders
Team Playstyle
Quick Counter / Long Ball Counter
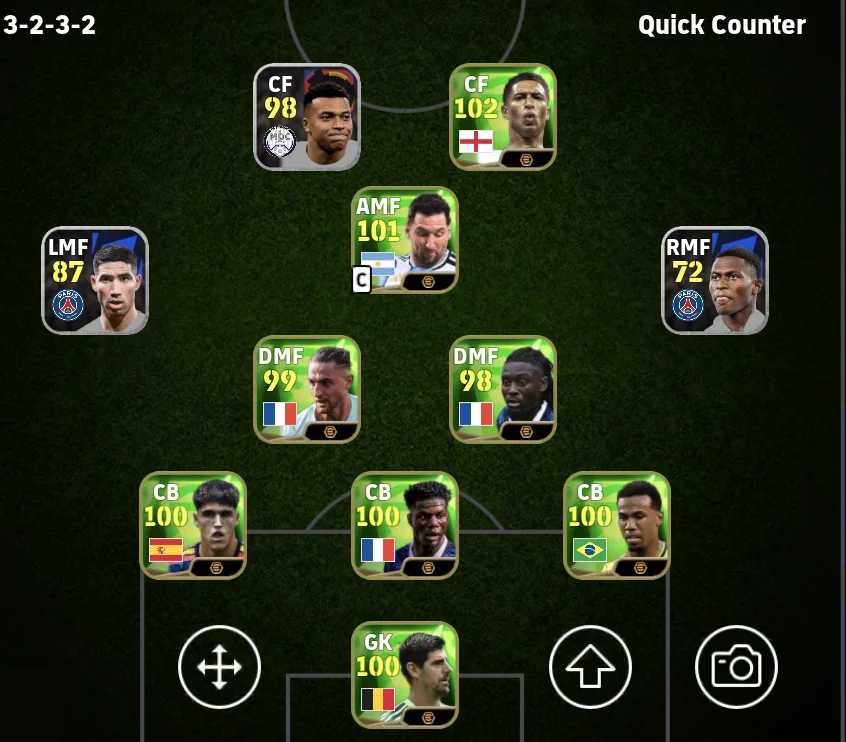
B3-2-3-2
Two strikers attacking through the centre
Strength
A hyper-attacking back three that goes through the middle and out wide
Weakness
The back three is unstable defensively
Team Playstyle
Quick Counter / Long Ball Counter
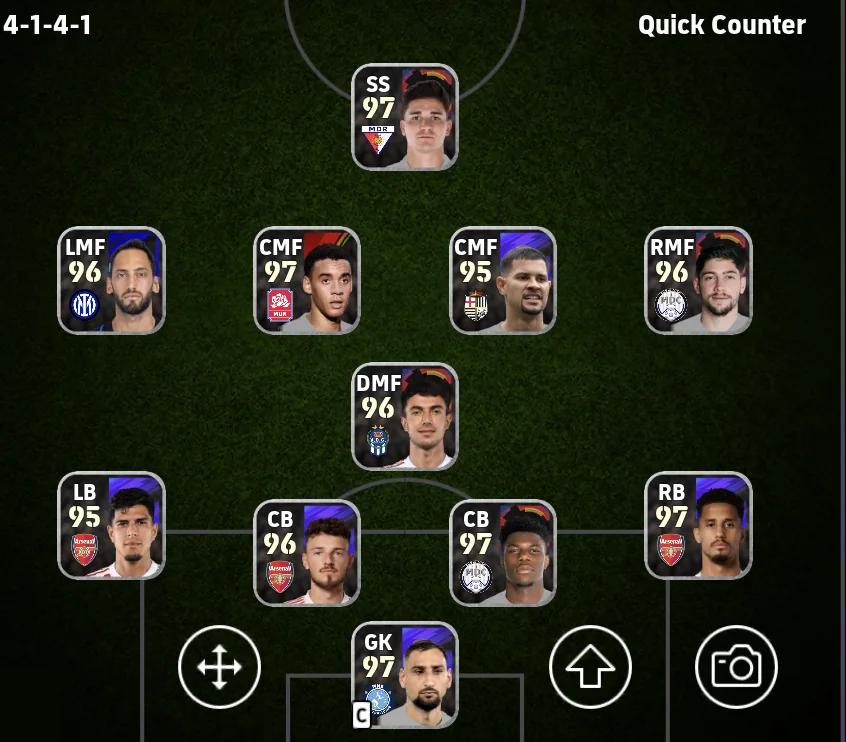
B4-1-4-1
High possession
Strength
High possession and a high press from four midfielders
Weakness
One striker leaves the front thin — short of goals
Team Playstyle
Possession Game / Quick Counter
B4-2-1-3
Defensive counter off a solid block
Strength
Solid defence and a three-forward counter
Weakness
Few chances if you cannot win the ball high up
Team Playstyle
Long Ball Counter / Quick Counter
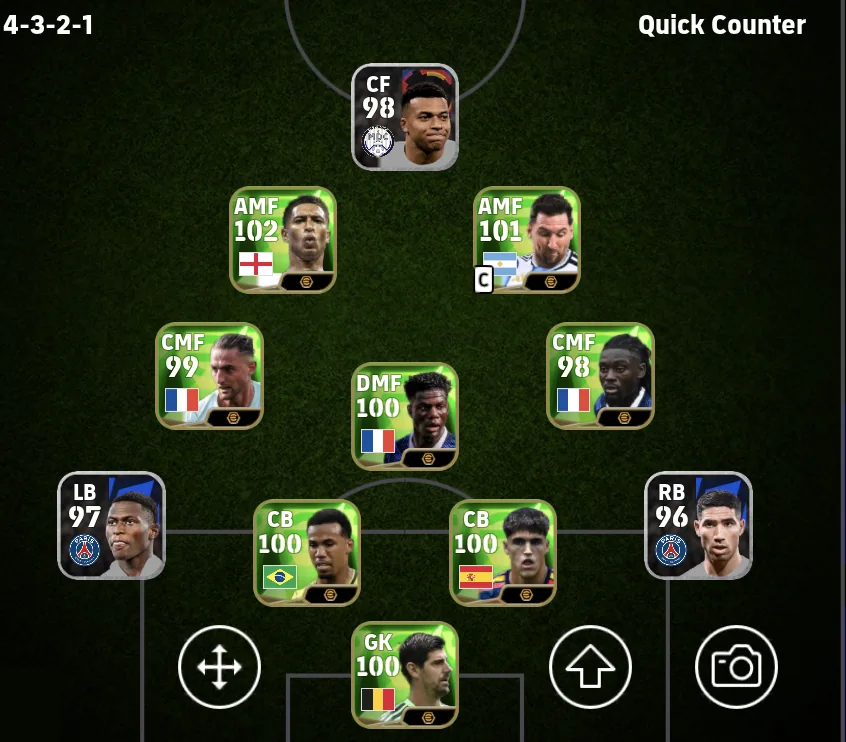
B4-3-2-1
Out Wide and possession
Strength
A hidden wide attack built on full-backs breaking forward
Weakness
Versatile, but hard to build one clear weapon around
Team Playstyle
Possession Game / Out Wide
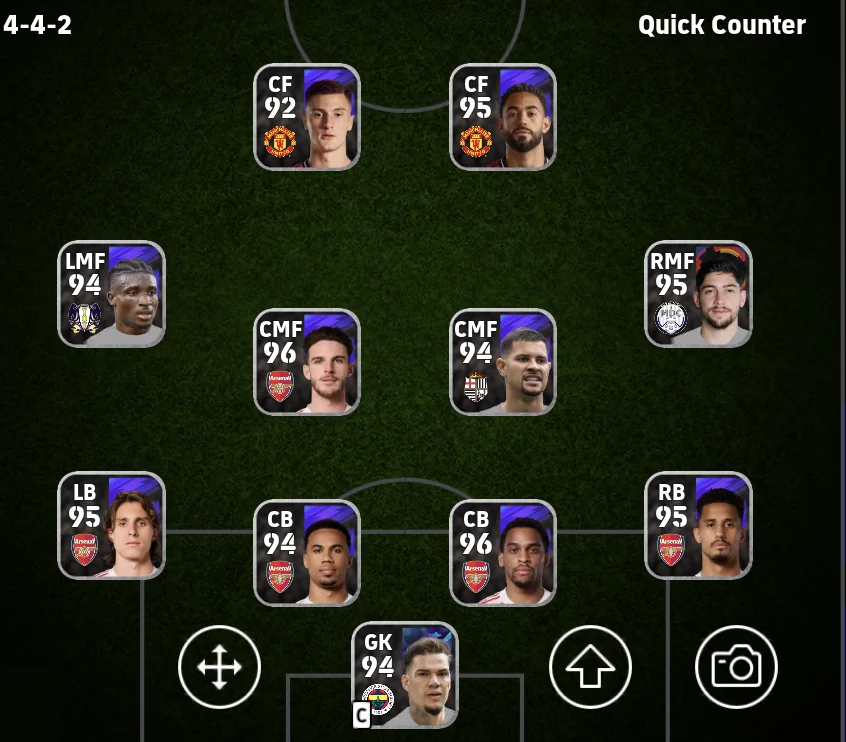
B4-4-2
The easy balanced option
Strength
Central breaks started by the centre midfielders — easy to handle, works everywhere
Weakness
The space behind the full-backs; no standout weapon
Team Playstyle
Quick Counter / Possession Game
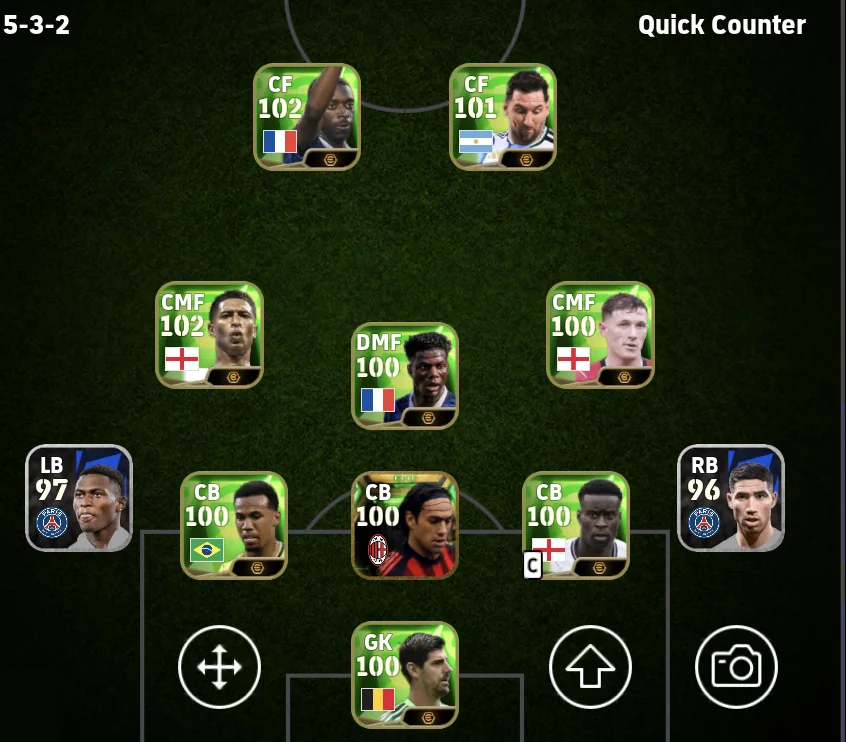
B5-3-2
An ultra-defensive block
Strength
Five at the back plus three holding midfielders — a wall
Weakness
Thin second line; scoring is the problem
Team Playstyle
Possession Game / Long Ball Counter
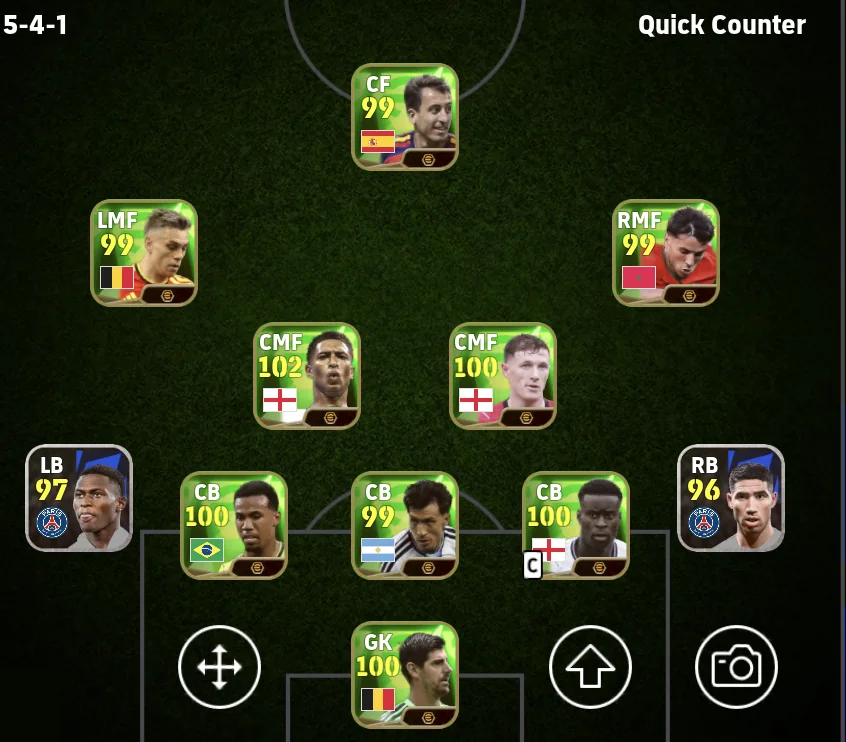
B5-4-1
Solid at the back with width
Strength
Stable defence with a thick wide attack
Weakness
No central route, and one striker limits goals
Team Playstyle
Out Wide / Long Ball Counter
C rank (1)
C4-2-3-1
Textbook possession
Strength
Wide attack with the full-backs overlapping
Weakness
Sits deep; tends to run short of a finish
Team Playstyle
Possession Game / Out Wide
How to set your formation
Formation is set from Game Plan, and you can change it at any time — including mid-match.
Step 1: open Set Formation
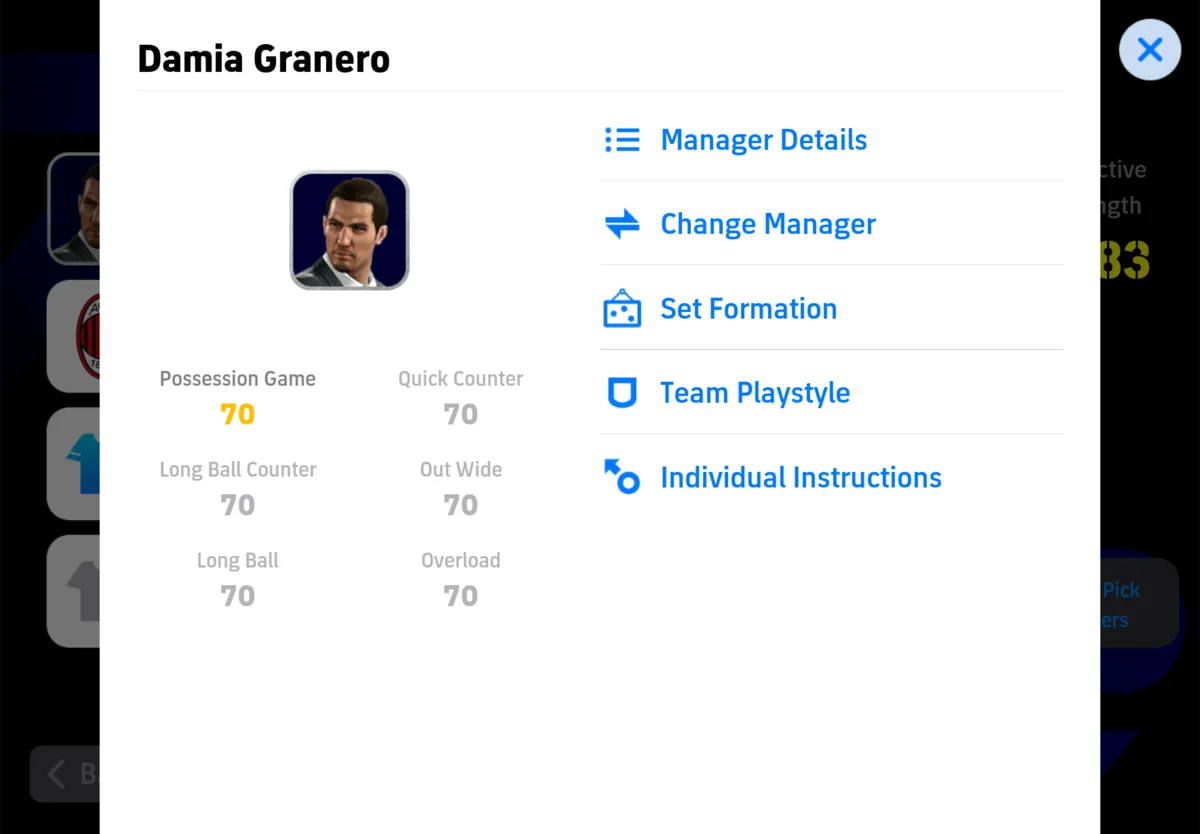
In Game Plan, tap the manager icon, then choose Set Formation.
Tap the manager icon in Game Plan and choose Set Formation.
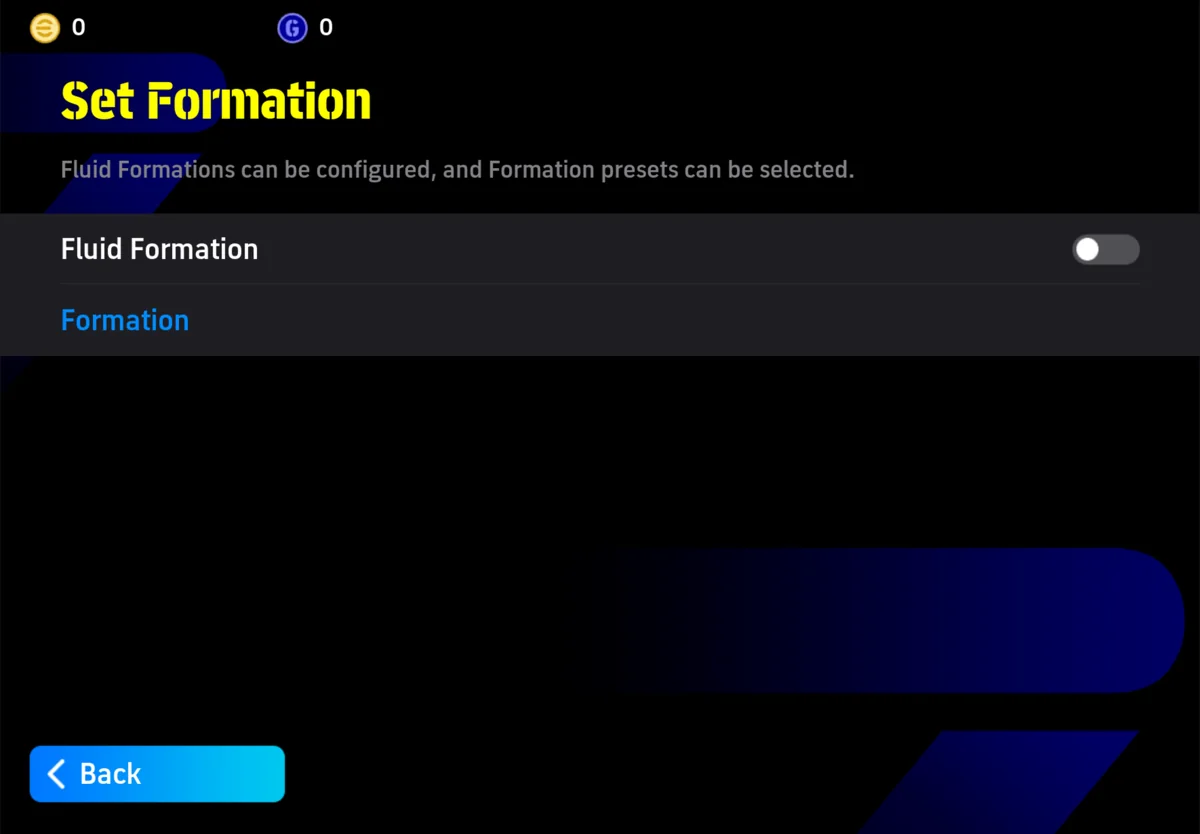
Step 2: tap Formation and pick one
On the Set Formation screen, tap Formation and choose the shape you want from the presets. That is the whole change.
The Set Formation screen: the Fluid Formation toggle sits above Formation.
Edit Position: move players anywhere
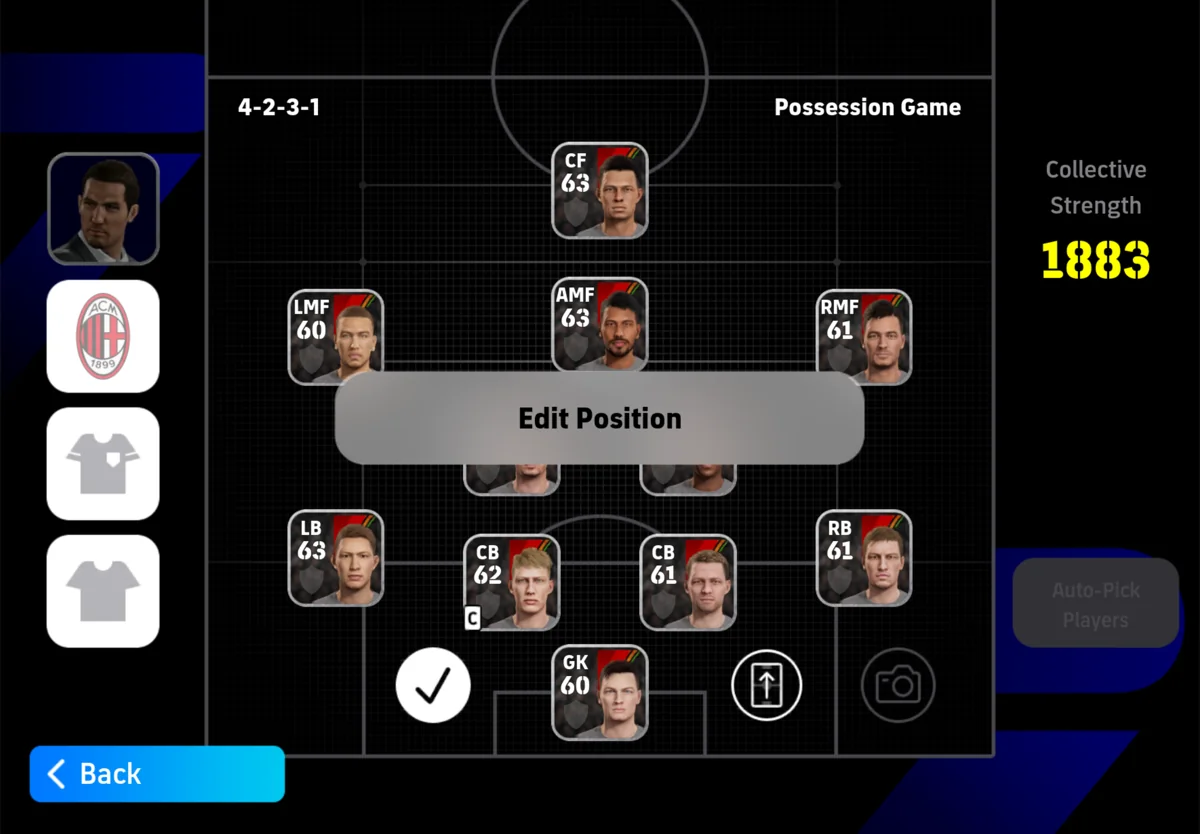
On the formation screen, Edit Position lets you drag players off their preset spots. This is how shapes like the pseudo three-CF get built — take an existing formation and nudge it until it does what you want.
Edit Position on the formation screen. Position labels here are LB, RB, LMF, RMF, AMF, CF.
Fluid Formation: a different shape in attack and defence
Fluid Formation is the toggle above Formation on the same screen, added in eFootball 2027. Turn it on and you set two formations — one for when you have the ball and one for when you do not.
The point is that you no longer have to compromise. Push your full-backs high in the attacking shape, then drop your wingers in the defensive shape to add bodies at the back. It also widens which players are worth fielding, because a player only has to fit one of the two shapes.
In attack
In defence
What it gives you
3-2-3-2
5-3-2
All-out attack, then five at the back to hold the lead
4-3-3
4-2-3-1
Wingers high going forward, tucked in behind the ball
Switch mid-match
Game Plan is available during a match, so dropping to a more defensive shape once you are ahead is a real tactic, not a menu quirk.
How to pick a formation
Pick from the way you want to play, not from a tier list. Decide your Team Playstyle first, then take a formation that suits it.
Quick Counter
Win the ball high and finish in as few touches as possible. Formations that commit numbers forward suit it.
4-3-1-2
4-2-2-2
4-2-4
Long Ball Counter
Win the ball in your own half and run into the space behind. Wants a solid block and a fast front line.
3-1-4-2
4-2-4
5-2-1-2
Possession Game
Keep the ball with short passes and pull the opponent apart. Formations with numbers in midfield are steadier.
4-2-3-1
4-1-4-1
4-3-2-1
Out Wide
Take width, cross, and attack the box. Formations with wingers break teams down from the flanks.
4-3-3
3-4-3
If you are new
If you do not have a preference yet, start with something intuitive and balanced that does not fall apart on you.
4-4-2
4-3-3
Once you know how you like to attack, move to the playstyle that fits.
Matchups and switching
✓Why matchups matter
No formation beats everything — every one of them has a weakness.
Formations have matchups; the same shape is strong against one opponent and weak against another.
So do not marry one formation. Switching by opponent is the fastest way to win more.
Start from how many defenders they have
Read the matchup from their back line first — three, four or five. The gap between your attacking numbers and their last line decides how easy they are to break down.
Three at the back — A back three is thin
Commit numbers forward and you can create an overload against a thin last line. Push up with an attacking formation.
4-2-4
4-2-2-2
4-1-2-3
Four at the back — A back four is the standard
The key is the space behind their full-backs. If they push them forward, counter into it. If they sit deep, take width and break them down.
4-2-4
4-3-3
Five at the back — A back five is very solid
The middle gets shut down, so take width and move them around. Do not force it centrally — move the ball patiently until they stretch.
4-3-3
3-4-3
4-2-3-1
FAQ
What is the best formation in eFootball?
There is no single best one. 4-1-3-2, 4-2-1-3 (pseudo three-CF), 4-2-2-2, 4-2-4, 5-2-1-2 all hold up in Division 1, and which of them is best for you depends on your Team Playstyle.
How many formations are there in eFootball?
eFootball LABO covers 21, from four at the back through three and five at the back. Position Edit lets you build variations on top of those.
What formation should a beginner use?
4-4-2 or 4-3-3. Both are intuitive, balanced between attack and defence, and hard to break.
Can I change formation during a match?
Yes. Game Plan is available mid-match, so you can switch to a more defensive shape when you are ahead.
Mikel is the editor of eFootball LABO. A long-time eFootball player (peak Division 1, peak rating 1,920), he writes from real play and hands-on testing.