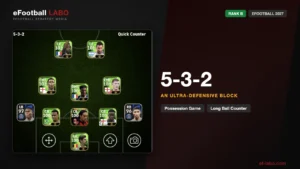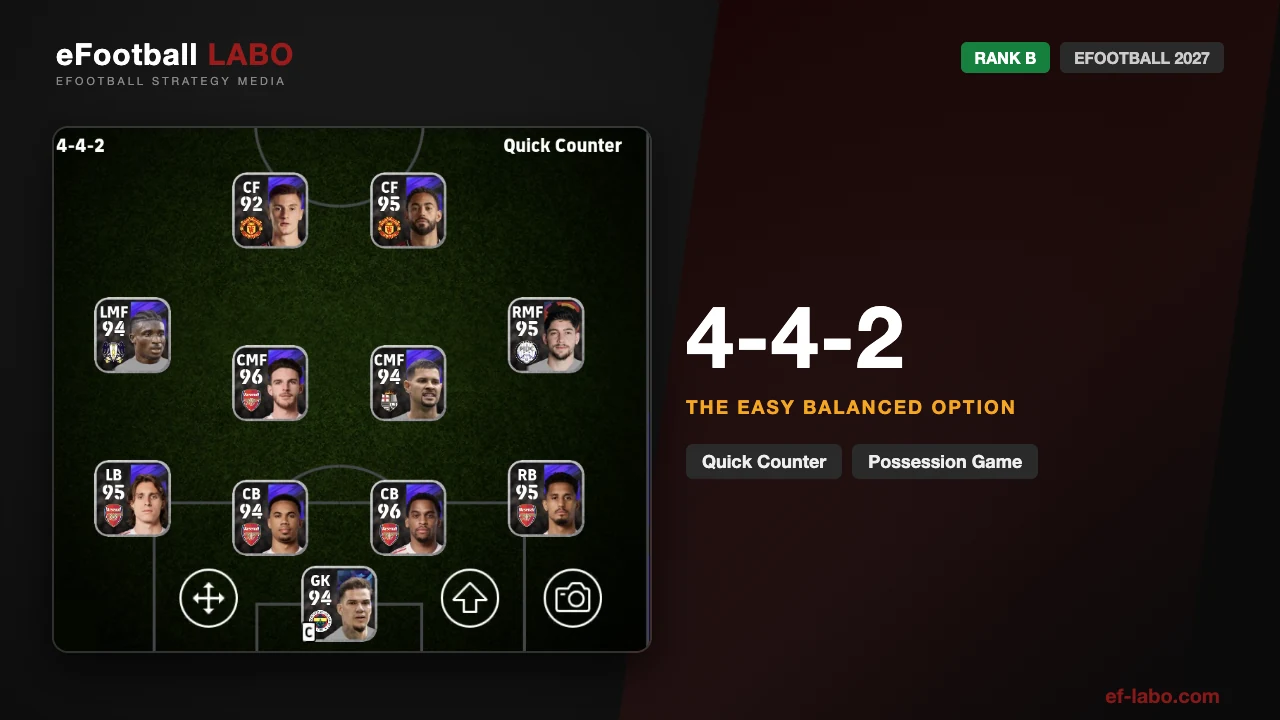
- Rank B. Tested over five games in Division 3.
- Three tidy lines, two strikers, few weak spots in the shape itself. Easy to pick up.
- The space behind the full-backs is where you lose games. Quick CBs and full-backs who stay.
The 4-4-2 is the shape with no tricks in it. Two forwards, a flat four in midfield and a back four — three tidy lines that defend well and attack with two strikers. It counters, it keeps the ball, and it does neither better than a shape built for one of them. What it does have is one big hole: the space behind the full-backs.
4-4-2: overview
| Rank | BTested over five games in Division 3 |
|---|---|
| In one line | Balanced and simple — three lines, two strikers, nothing exotic |
| Biggest weapon | Central breaks off the CMFs, finished by two forwards |
| Biggest weakness | The space behind the full-backs, especially against a front three |
| Suits you if | You want to counter or keep the ball depending on the game |
| Not for you if | You want wingers running at people down the outside |
| Team Playstyle | Quick Counter / Possession Game |
Rank B. Three wins and two defeats in five games in Division 3. The rank is provisional.
What it does well, and where it hurts
- Two forwards means a counter arrives with two players, not one.
- Three tidy lines make it hard to play through — this is the block everyone recognises.
- It can counter or keep the ball, so you can change how you play without changing the shape.
- It looks like a wide shape but is not one. Two players a side cannot create the overload that a winger, a midfielder and a full-back can.
- The space behind the full-backs is the hole, and a front three is built to find it.
- The space between the CMFs and the CBs opens up if the lines get stretched.
The shape
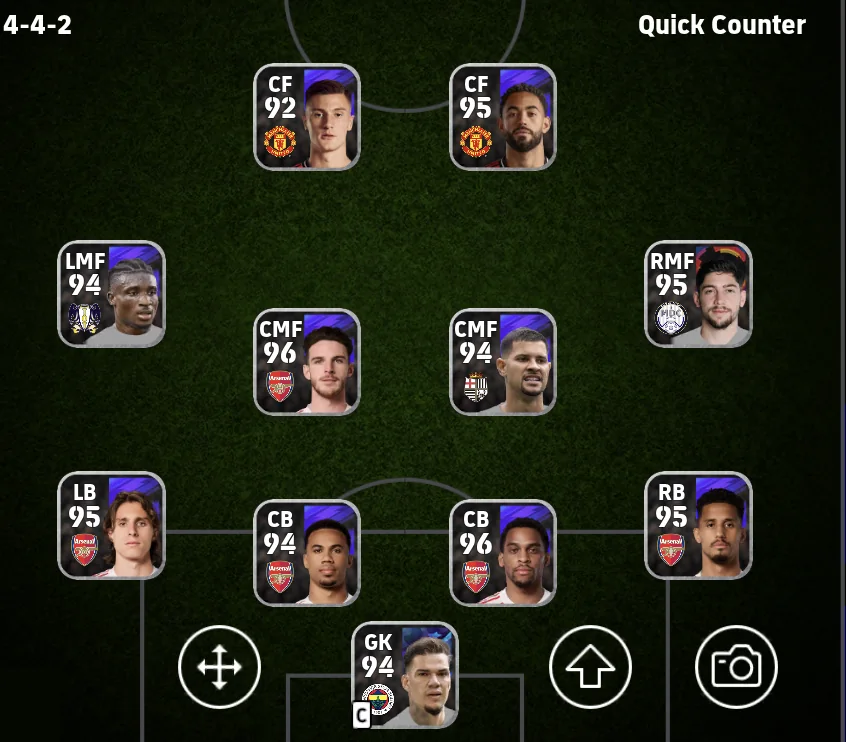
4-4-2: a back four, a flat four in midfield and two forwards.
A back four, a flat four across midfield — two CMFs with a wide midfielder either side — and two forwards. The wide midfielders tuck in to thicken the middle, which means the width has to come from the full-backs.
How to attack
Everything goes through the CMFs and finishes with the two forwards. One comes to the ball, the other runs beyond — that pairing is the shape’s whole attacking idea, and the counter is the main route.
Quick Counter: into the CMF, then in behind
The fastest route. Win it, give it to a CMF, and one of the two forwards is already running.
- The CF breaks the line, running in behind their back four
- A CMF slides the through ball into that run
- The CF gets away and finishes
Down the flank: hold it up, then the full-back
When you cannot go in behind, go into feet. The CF buying a second is what lets the full-back get up the pitch.
- A CMF plays it into the CF, who holds it up
- The RB comes forward and takes it off the CF
- The RB gets down the right and crosses
- The SS arrives at the far post and heads it in
Possession Game: the lay-off and the run
The patient version of the same idea. One forward comes to the ball so the other can go past their line.
- A CMF plays a vertical pass into the SS
- The SS lays it off first time
- The CF breaks the line as the ball comes back
- The through ball goes in and the CF finishes
Building up
The point of going wide here is to make the middle available again. The short route is a CB into a CMF, and when they shut it, a full-back pulls them across so the same pass is on a moment later. Forcing the central ball when there is no lane is the mistake that costs you.
Through the middle: CB to CMF to the forwards
Two passes and you are in their half. This is why the shape is easy to play.
- A CB plays a vertical pass into a CMF
- That CMF turns and finds one of the two forwards
Round the side when the middle is shut
Not an attack in itself — a way of moving them across so the central pass opens again.
- A CB goes out to the LB
- The LB draws them over and gives it back inside to a CMF
Mistakes people make, and the fix
You force a pass into the middle and get countered
| Why it happens | What to do |
|---|---|
| The central route is the good one, so people keep trying it after it has been closed. The pass gets read in front of your own back four. | If the lane is not there, go out to a full-back and rebuild. The middle opens again once they have shifted across. |
A front three counters into the space behind your full-back
| Why it happens | What to do |
|---|---|
| Your full-back has gone forward because that is where your width comes from. Their winger attacks the space, and your CB has to cover it. | Use quick CBs, and against a front three set the full-backs to Defensive in Individual Instructions from the start — do not wait until you have conceded. |
How to defend with it
You defend as a 4-4-2 block: two banks of four, kept close together, steering them into the middle where you have the numbers. It is the most familiar defensive shape in football, and it works.
| Area | What to do |
|---|---|
| Midfield | Pull the wide midfielders inside so the four are compact, then double up on the ball. Two players closing one down is how this block wins it back. |
| Wide | The space behind a full-back is the danger. Quick CBs cover it, and against a side with real wingers use defensive full-backs or set yours to Defensive. |
| Back line | You press with six, so the back four has to defend one-on-one when it gets stretched. Pace at centre-back is what saves you. |
| When ahead | Set both full-backs to Defensive in Individual Instructions. That closes the biggest hole in the shape and the block does the rest. |
Players and playing styles that fit
Because the shape is simple, individual quality shows. These are the styles it asks for.
| Position | Playing Style | Why |
|---|---|---|
| CF | Goal Poacher | The one who runs in behind. Pace and finishing — everything else is a bonus. |
| SS | Hole Player | Comes to the ball, lays it off, then arrives late. The partnership with the CF is the attack. |
| Wide midfielders (both) | Box To Box | Tuck in to thicken midfield, get forward when the chance is there, and track back every time. |
| CMFs (both) | Orchestrator | The way out of defence and the start of every counter. Passing range decides how fast you attack. |
| Full-backs | Full-back Finisher / Offensive Wingback | Your main source of width, so they have to get forward. Keep a defensively strong full-back with no playing style on the bench for when the opposition play wingers. |
| CBs | Build Up, and quick | Pace first — they cover the space behind the full-backs. Good on the ball, because the build-up starts with them. |
Best managers for this formation
4-4-2 runs on Quick Counter and Possession Game, so what you want is a manager with high Team Playstyle Proficiency for those. Every manager below is rank SS on eFootball LABO — high proficiency, a Booster and Link-up Play — picked for their proficiency in these Team Playstyles.
Best managers for Quick Counter





Best managers for Possession Game




Into a CMF, then let one forward come short and the other run beyond. Do not force the central pass. Full-backs on Defensive when you are ahead.
Matchups
| Opponent | Matchup | Why, and what to do |
|---|---|---|
| Sides with a front three (a winger either side) | Even | They are built to attack the space your full-backs leave. Quick CBs, and do not let the full-backs push on as far. |
Matchups are provisional. We update them as we play more.
FAQ
Is 4-4-2 good in eFootball?
What Team Playstyle should I use with 4-4-2?
What is the weakness of 4-4-2?
Is 4-4-2 a wide formation?
What should I do when I am ahead?
Summary
- The spine of it is three tidy lines and two forwards. One comes to the ball, the other runs beyond — that is the attack, on the counter and in possession.
- The price is the space behind the full-backs. It is the biggest hole, and a front three will find it. Quick CBs, and Defensive full-backs when you need them.
- It has no standout weapon, which is why it is rank B rather than higher. What it has instead is few awkward gaps and a very short learning curve.